Your kitchen's more afraid of you than you are of it.
Showing posts with label Chicken. Show all posts

Saturday, January 28, 2012

White Bean and Chicken Chili

The first time I made this recipe was the night of the Great Halloween Blizzard of 2011. I will never forget that night! All week, the weatherdudes on the news are like, "GUYS, THERE IS SNOW COMING THIS WEEKEND I'M NOT KIDDING THIS IS GOING TO HAPPEN." Meanwhile, everyone else was like:

And then ... for once ... the weatherpeople were RIGHT!!!! Matt was at work on Saturday, October 29, when it started snowing. It was pretty light at first, no one really made too much of it. "This will pass," we said. "A dusting, a flurry. No big deal." But the snow. Did not. Stop. It was madness!  My sweet next door neighbor advised me not to go out unless I had to. I said, "I'm sure I'll be fine!" But it wasn't fine. I didn't even make it out of my complex because the roads were all slushy and slick. The roads weren't plowed or salted because no one planned on having plows at the ready two days before Halloween. And then everyone was all:

We were supposed to go to a Halloween party that night, and the host sent out a mass text message that pretty much told us that the weather was not pretty and the party would take place next week. Later, Matt called me and said that his coworker Dan's car was stuck in the snow and they couldn't dig him out. Could Dan come spend the night at our place? Sure, no problem! Dan came over, then Colleen came over, we were all hanging out, having a good time, making fun of the snow, I made white bean & chicken chili, we were about 20 minutes into Clerks when....the power went out. And it stayed out. For the next 9 hours. Bummer.

And that's pretty much it.

So, I really hoped the next time I planned on making this, it didn't snow, otherwise I'd never be able to make this dish again unless it was in the dead of summer.

Anyway, this is a great chili recipe with a lot of spicy kick to it and a great flavor! And, because it too comes from "Desperation Dinners", it only takes 20 minutes to make! This is another great cold-weather stew to make when you don't feel like putting too much effort into a filling meal!


WHITE BEAN & CHICKEN CHILI, courtesy of "Desperation Dinners"
Makes 4 servings
YOU WILL NEED:
3 skinless, boneless chicken breasts (for about 1 pound total), fresh or frozen
1 teaspoon olive oil
1 large onion (for 1 cup chopped)
1 tablespoon bottled minced garlic
1 (15 oz) can Great Northen white beans
1 (19 oz) can cannellini beans
1 (4.5 oz) can chopped green chilies
1 1/2 teaspoon ground cumin
1 teaspoon pepper, preferably white
1/8 teaspoon cayenne pepper
1 (14.5 oz) can fat-free chicken broth
2 tablespoons cornstarch
2 tablespoons water
1/2 cup already-shredded Monterey Jack cheese (optional)
1/4 cup reduced-fat sour cream (optional)

You will also need a Dutch oven or soup pot (at least 5 quarts). This is a great one-pot meal!
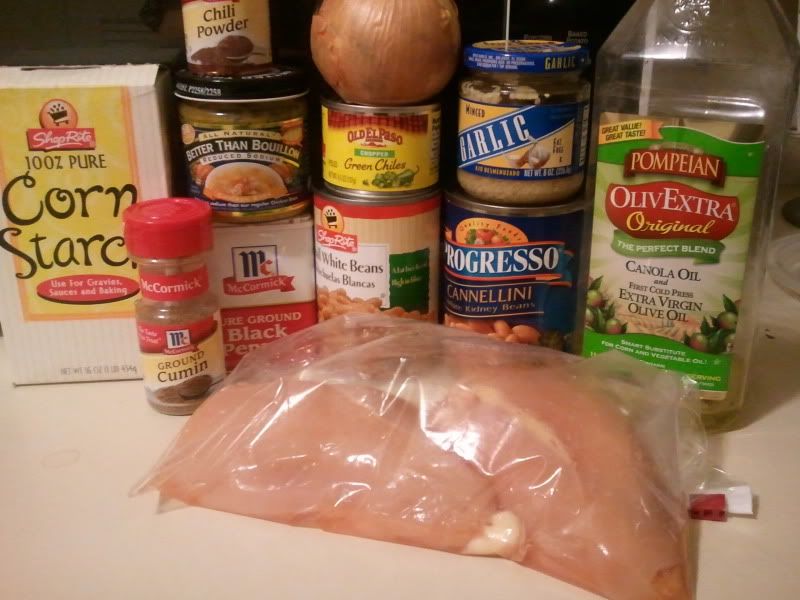
I had extra-large skinless/boneless chicken breasts at my disposal, so I only needed two as opposed to three. I even weighed them on my food scale to make sure I had about 1 pound. I did not have any white pepper, as the recipe suggests, but there is no reason at all why you can't make it with regular black pepper. The only difference is that black pepper is made from the unripe fruits of a pepper plant, and white pepper is made from the seeds of the pepper plant itself. Also, white pepper is more commonly used in dishes like potatoes, light sauces and salads, where the black pepper would stand out. With this recipe, I really don't see the difference between the black and the white, so use whichever!

1. Defrost the chicken if it is still frozen. Meanwhile heat the oil on medium heat in a Dutch oven or soup pot. Peel or coarsely chop the onion, adding it to the pot as you chop. Stir occasionally to prevent sticking.

2. Cut the chicken (fresh or partially defrosted) into bite-sized chunks, add them to the pot and stir occasionally. Add the garlic and continue to cook, stirring occasionally.
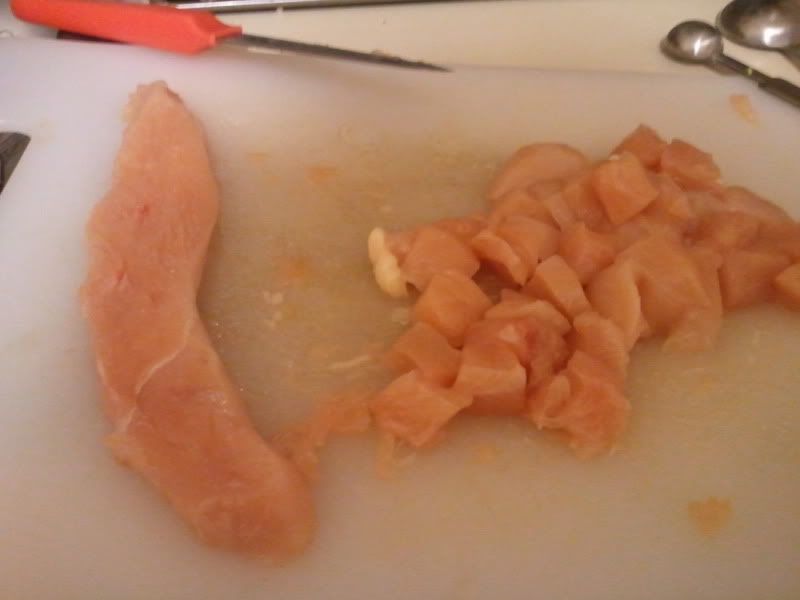
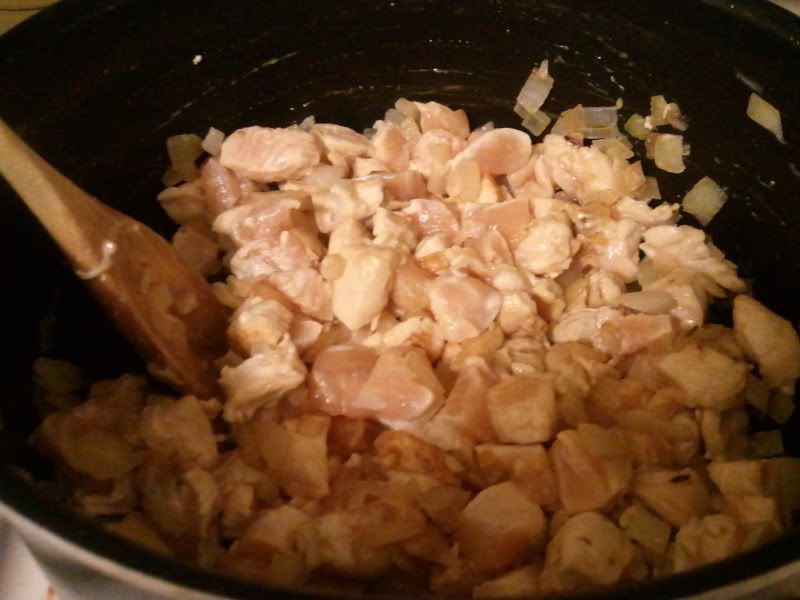
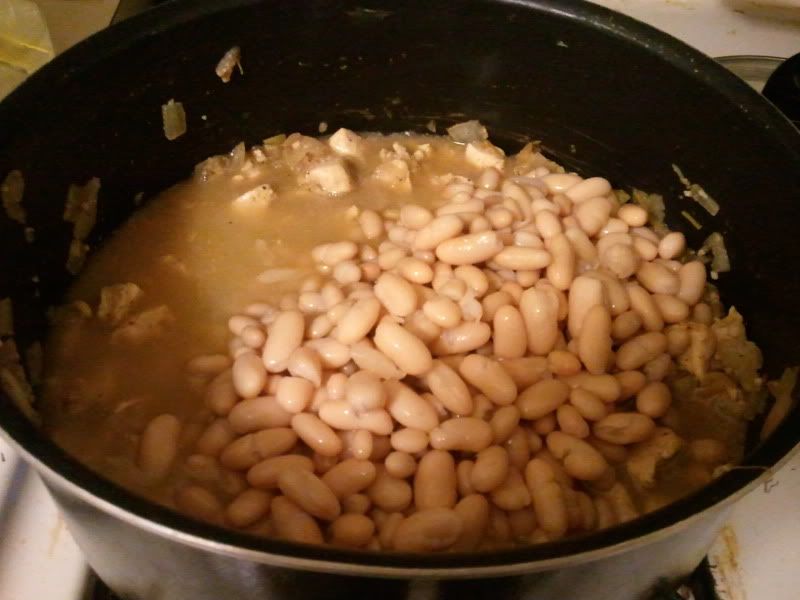
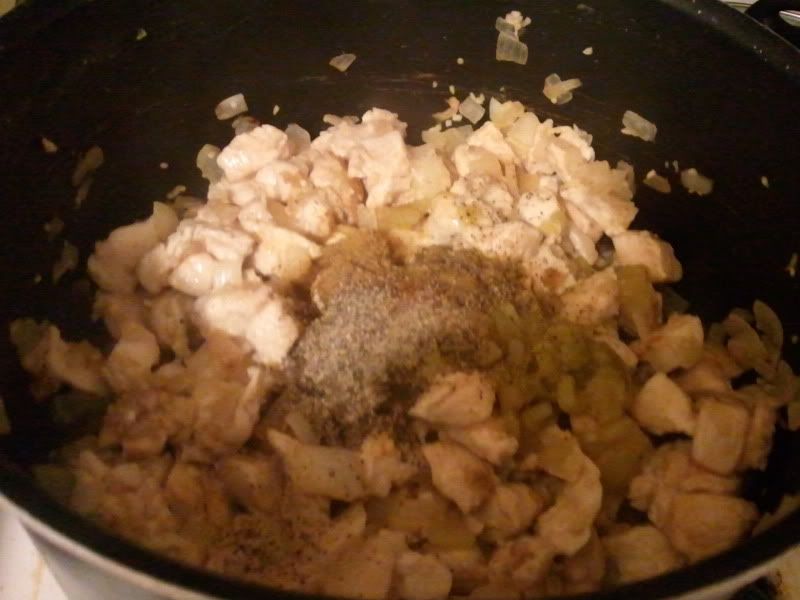
3. While the chicken cooks, drain and rinse both of the cans of beans, and drain the chilies. Add the chilies to the pot, along with the cumin, pepper and cayenne pepper. Raise the heat to high and add the chicken broth and the drained  beans. Cover the pot and bring the chili to a boil.
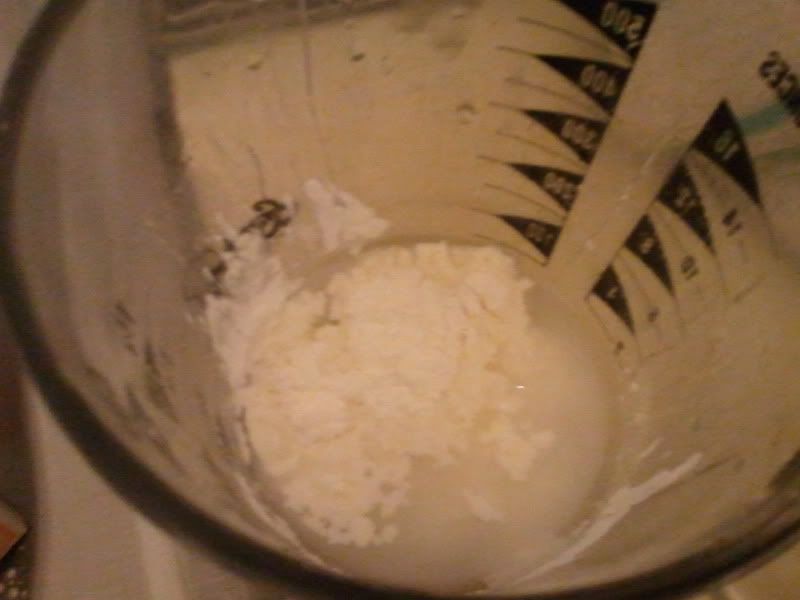
4. Meanwhile, combine the cornstarch and the water in a small container that has a lid. Shake well to remove any lumps. (Alternatively, you can do what I did, and combine them in a container and whisk them together)


5. When the chili boils, the chicken should be cooked through (even if you began with partially defrosted). Add the cornstarch mixture a little at a time, stirring constantly. Continue to boil until the chili reaches desired thickness.
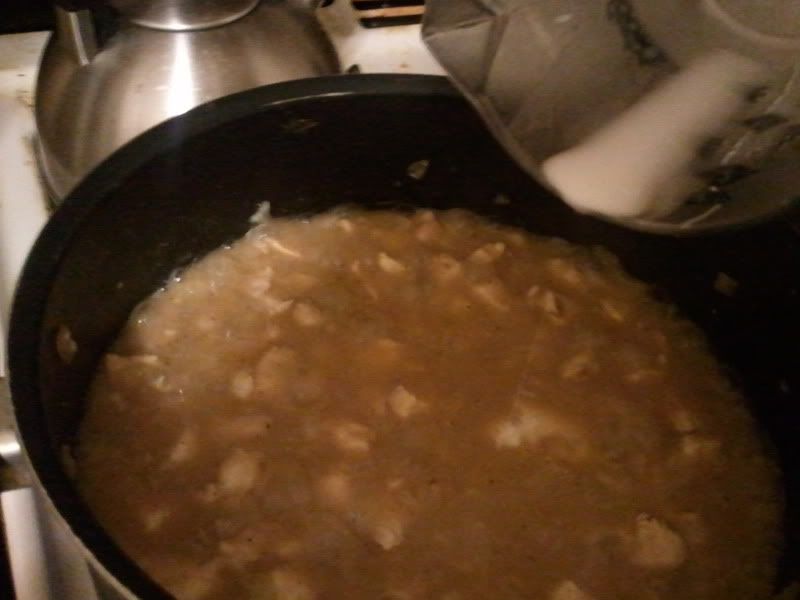
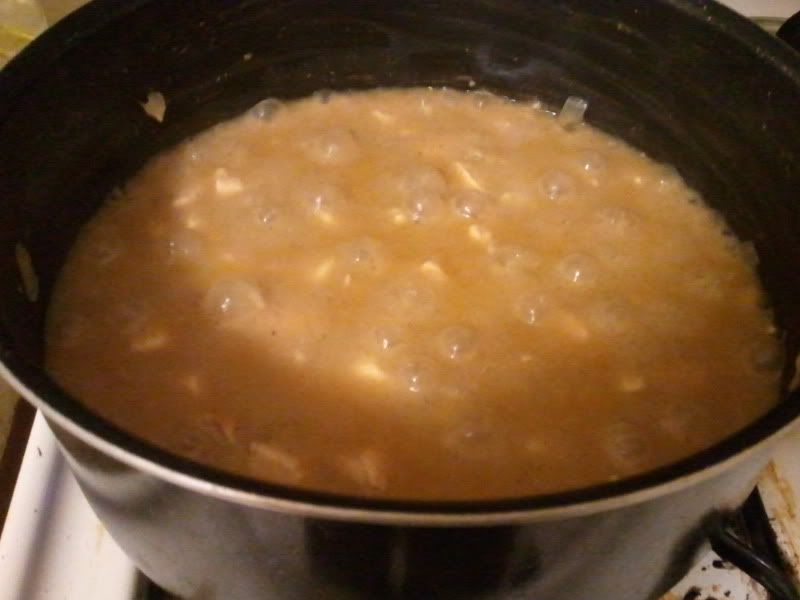
6. Remove from the heat and serve, or let the chili rest until you're ready to eat. Garnish with cheese and sour cream if desired.
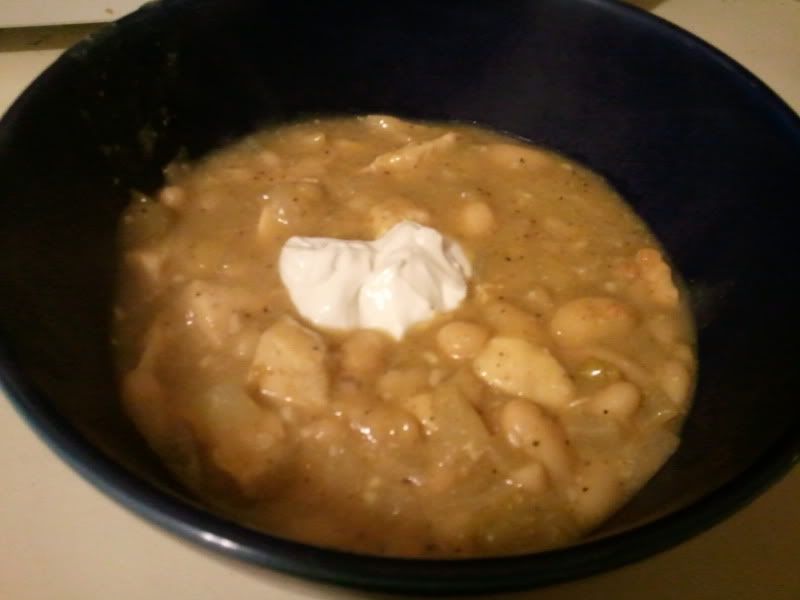
What's great about this chili is that you can clearly see every single ingredient that's in there - the onions, the beans, the chilies, and, of course, the chicken! It's really spicy, spicier than you'd think it would be, thanks in part to the green chilies and the pepper and the cayenne pepper. But if you add a dollop of sour cream when you serve it, it sort of helps "cool the burn", so to speak!

That's it for this entry! I think I'm much better at this blogging thing when I'm not pressuring myself to do it every night or even 3 times a night. I'm much happier blogging and posting at a slower pace, it seems like. As long as the readers keep reading, I will keep blogging.

I'm going to actually start cooking tonight's dinner soon, that I fully intend on blogging - but you'll have to wait to find out what it is!

Eat, drink and be merry, folks!

Sunday, January 22, 2012

Sizzled Chicken Schnitzel

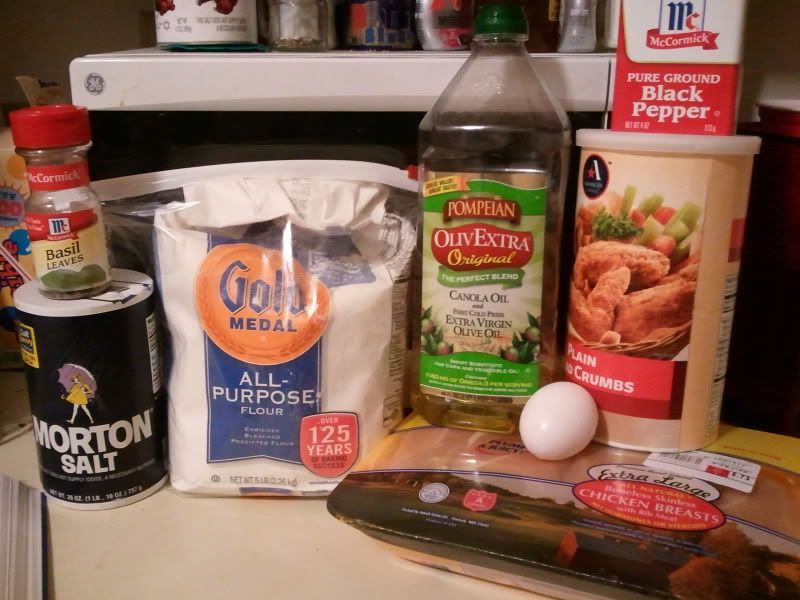
A few days ago, Matt's friend Abe came over for dinner. OK, so it wasn't actually "for dinner", but he came to hang out and it kind of spilled into dinnertime. This was totally fine with me, but I hadn't planned on feeding a third person for dinner that night, but as it so happens, I had defrosted a 4-pack of skinless, boneless chicken breasts the night before. I could easily feed three tonight instead of two. 

I quickly flipped through my lovely new cookbook, "Desperation Dinners" to find something that would be easy, something that wouldn't be too complicated, and, most importantly, contained ingredients I had already in my cabinet. That is what lead me to Sizzled Chicken Schnitzel. 

Schnitzel is a simple dish that is popular all over the world! It is most known as a staple in German and Austrian cuisine and often made with pork or veal. In Vienna, when it is made of veal, it is referred to as Wienerschnitzel

Many different countries have their own version of schnitzel. For example, in Israel, their version is made with turkey and it is often referred to as their "national dish". In Italy, cotoletta alla milanese is very similar to Wienerschintzel. In Japan, the dish is made using Panko crumbs. The dish also became popular in Namibia thanks to its German colonial history, and they serve it with a fried egg on top. 

Chicken schnitzel is the most popular in Germany because it's lower in fat and cholesterol than veal or pork, and it is the basis of their own version of chicken Parmesan - they make the schnitzel and top it with tomato sauce and Parmesan and mozzarella cheeses. 

Regardless of what meat it is made from, schnitzel is always made from a meat that is pounded flat, coated in flour and then breaded and subsequently pan-fried. This version from "Desperation Dinners" uses a small amount of olive oil to cut down the calories. 

SIZZLED CHICKEN SCHNITZEL, courtesy of "Desperation Dinners"
Makes 4 servings
YOU WILL NEED:
1/4 cup all-purpose flour
1/2 teaspoon dried basil
1/4 teaspoon salt
1/4 teaspoon black pepper
4 skinless boneless chicken breasts, defrosted if frozen
2 tablespoons olive oil
1/2 cup plain dry breadcrumbs
1 large egg

You will also need a large skillet or saute pan.

1. Combine the flour, basil, salt and pepper in a large zipper-top plastic bag. 

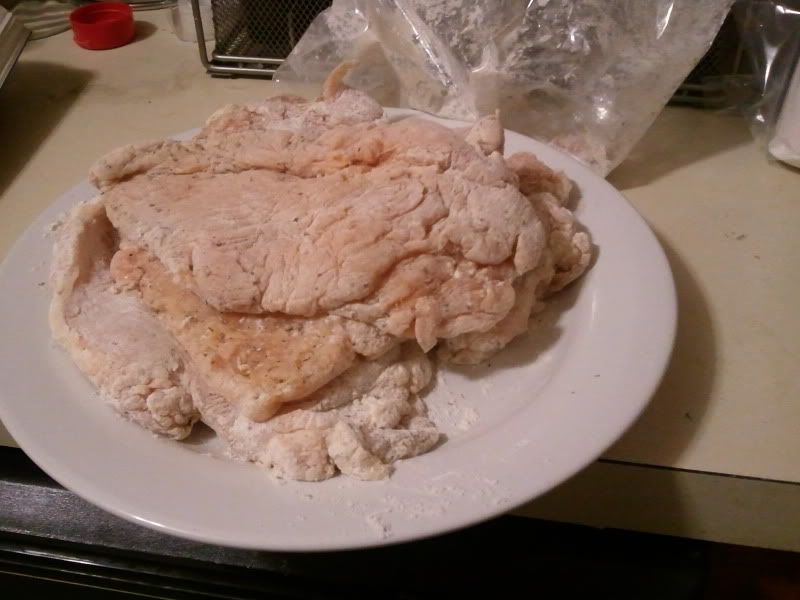
2. Place the chicken breasts, one at a time, between two sheets of wax paper or plastic wrap. Pound the breasts with several whacks of a meat mallet or rolling pin to thin them evenly to a thickness of about 1/2 inch. Peel off the paper and add the breasts to the bag of with the flour mixture. Shake evenly to coat.

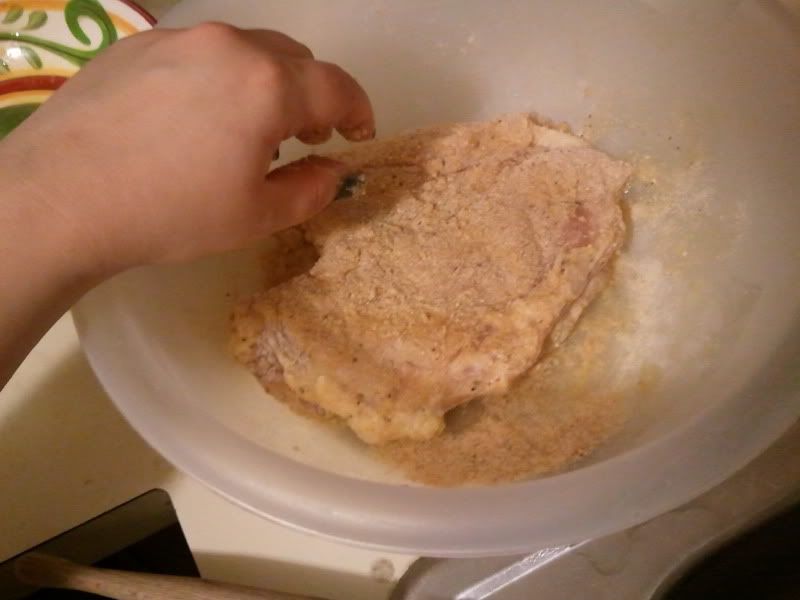
3. Heat the oil in a 12-inch nonstick skillet over medium-high heat. Meanwhile, spread the bread crumbs on a plate and beat the egg in a small bowl, using a fork or whisk. Dip the chicken breasts, one at a time, first into the egg and then into the bread crumbs to coat on both sides. Shake off excess crumbs. Add the breasts to the skillet as you coat them (I used a bowl to avoid breadcrumb messes!)

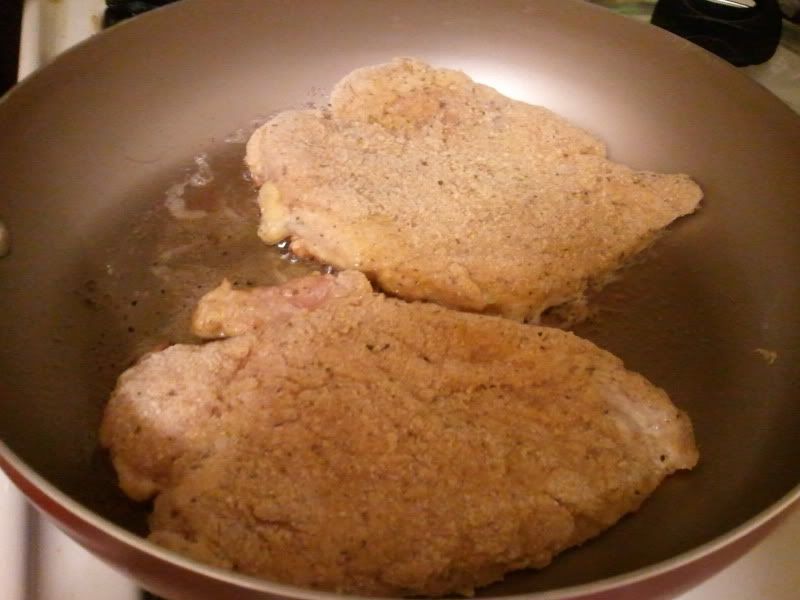
4. Cook the breasts until the chicken is cooked through with a golden brown crust, 3 to 4 minutes on each side. If the crumb coating begins to overbrown, reduce the heat to medium.

5. Place each breast on a serving plate and enjoy!

Yeah, I overbrowned just a little, but you know what? It tasted awesome just the same!


What's great about this dish is that you can pair it with anything and it will compliment it nicely! I served with pasta and peas, but you can go with mashed potatoes, rice or even a potato salad.  


Anyway...this was a quick and easy chicken recipe that pleased everyone! I totally did not plan on making this recipe at all, let alone blogging about it, but I decided to document the process anyway - just in case. Turns out, the reception was four big thumbs up! The crust of breadcrumbs made for a nice crunch. Abe said it was the moistest chicken he'd ever had, and Matt devoured his in seconds. It was so easy to make and I had everything to make it right in my cabinets - no special ingredients required! Flour, breadcrumbs, egg, salt, pepper and dried basil are all staples that I'm sure nearly everyone has already, and it's a quick dinner fix when you're in a rush or you're at a loss for what to do for dinner. This was an A-plus all the way!

Coming up in a few days, I have recipes for Cajun Rice & Beans and White Bean & Chicken Chili - two good recipes for cold winter nights!

Monday, March 28, 2011

Garlic Lime Chicken Fajitas

So, on Thursday night, my fiance and three of his friends are going to a Johnnie Walker tasting event. I'm taking this opportunity to invite a group of friends over for a Mexican-themed fiesta para chicas. I'm pulling out all the stops: homemade tortilla chips with fresh guacamole, nachos, Quesadilla Casserole, arroz amarillo, black-bean stuffed peppers (for my vegetarian friend), and, to top it all of, margarita cupcakes! To go with the theme, I've also got a pitcher of Spanish sangria brewing in the fridge.

I know this is going to push back the much anticipated Chicken Cordon Bleu recipe, but I thought it would be fun to do a group of Mexican-cuisine inspired recipes leading up to my party. I'm going to post the recipes I have for the black-bean stuffed peppers and the margarita cupcakes, and a recipe for Huevos Rancheros. And, of course, this one that you're reading right now: Garlic Lime Chicken Fajitas.

Also, this recipe incorporates one of my most favorite little kitchen helpers: McCormick Recipe Inspirations (I've used them in two prior recipes and I'm eventually going to try all of them). As I've said before, I love citrus in my foods. Lime, lemon, orange - it's all good. Garlic is also a love of mine (the more the better and damn the consequences! That's why breath mints were invented right?).


GARLIC LIME CHICKEN FAJITAS, courtesy of McCormick Recipe Inspirations
Makes 8 servings
YOU WILL NEED:
1/4 cup lime juice
1/4 cup orange juice
2 tbsp olive oil
1/2 tsp salt
1 1/2 lbs boneless skinless chicken breasts, cut into thin strips.
1 medium green or red bell pepper, cut into thin strips
1 medium onion, thinly sliced
8 flour tortillas (8-inch)
1 tsp minced garlic*
1 tsp minced onions*
3/4 tsp ground cumin*
3/4 tsp oregano*
1/2 tsp cilantro*
1/2 tsp black pepper*

*included in Spice Pack
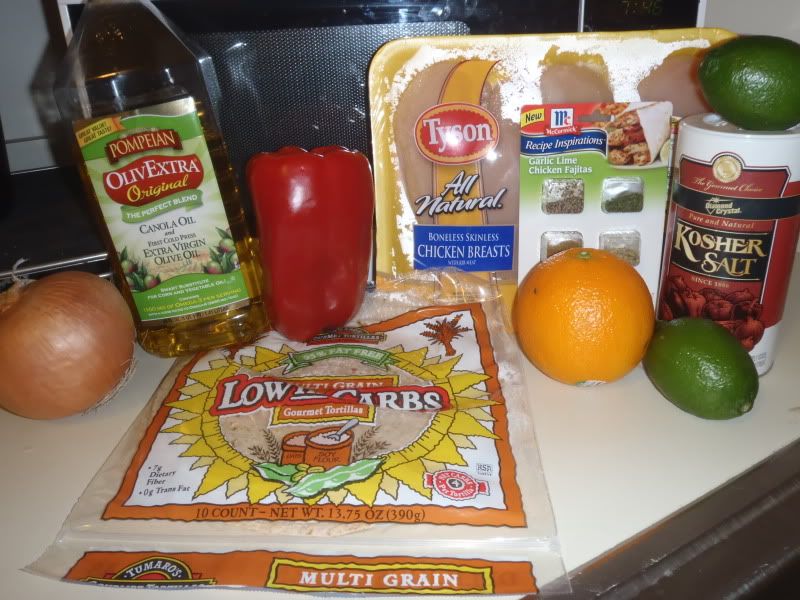
mise-en-place
I almost could not fit all of these ingredients in one picture. It took a lot of strategic placement. You will also need a large skillet, a small mixing bowl, and either a large zip-close bag or a bowl with a fitted lid.

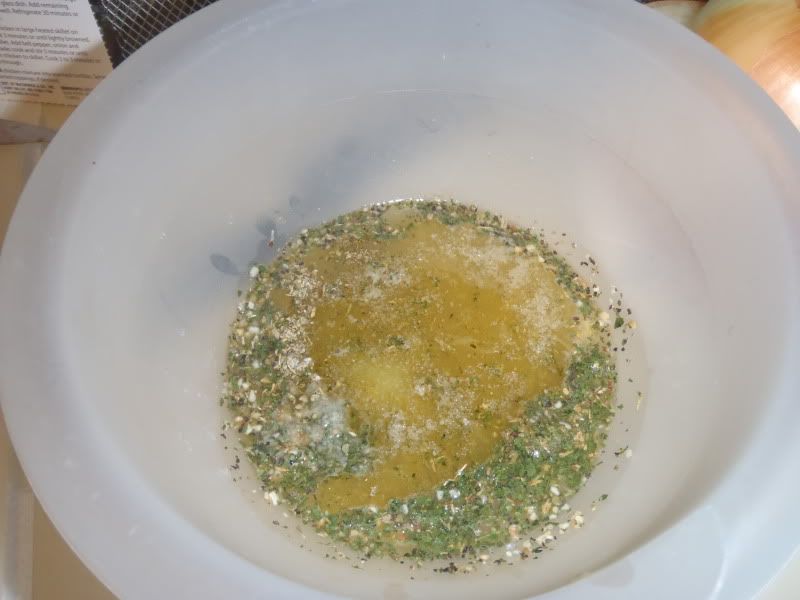
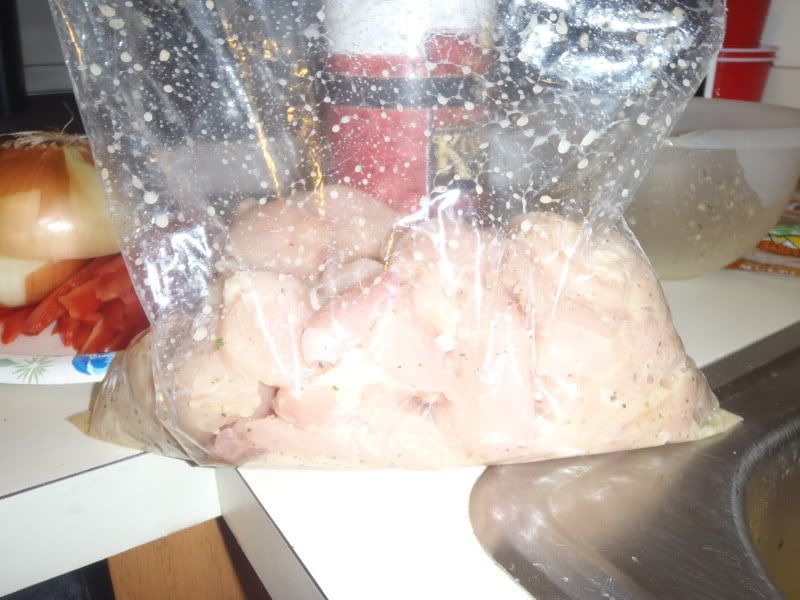
1. Mix lime and orange juices, oil, all of the spices and salt in a small bowl. Reserve 1/4 cup of the marinade. Place the chicken strips in the plastic bag or in a bowl with a fitted lid. Add the remaining marinade; turn to coat the chicken well. Refrigerate 30 minutes or longer for extra flavor.

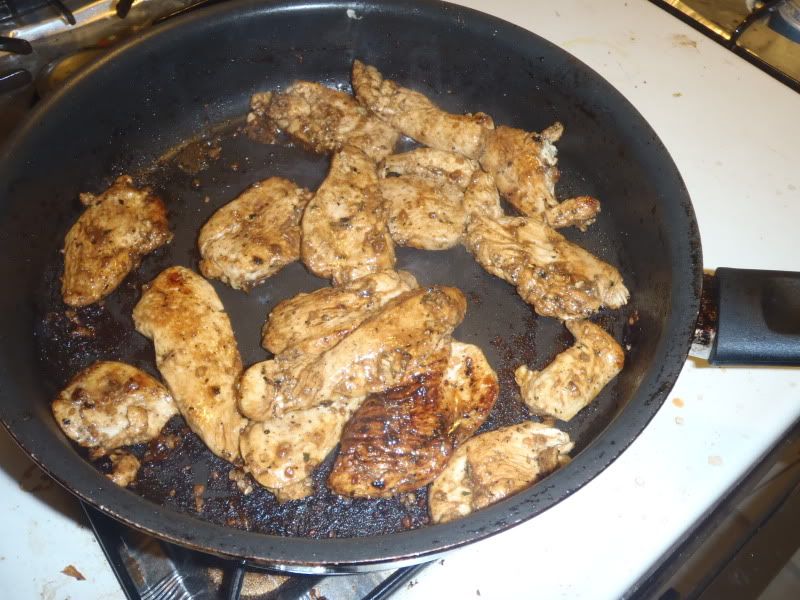
2. Cook and stir chicken in large heated skillet on medium-high heat 3 minutes or until lightly browned.

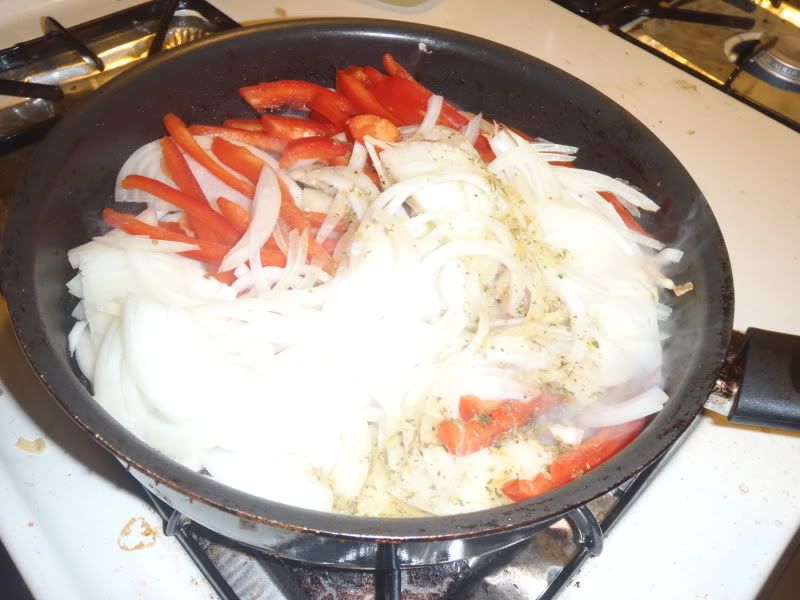
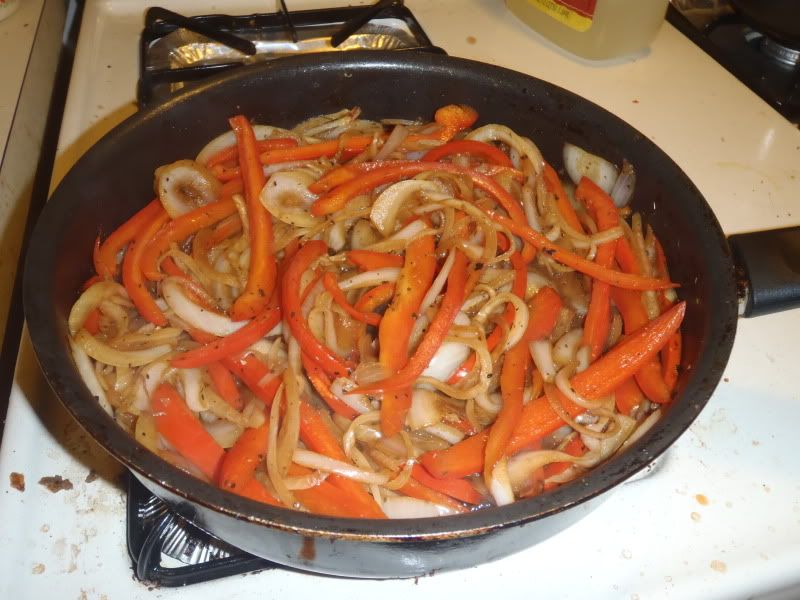
3. Remove chicken from skillet and set aside. Add bell pepper, onion and the reserved 1/4 cup of marinade. Cook and stir 5 minutes or until tender.

4. Return chicken to skillet. Cook 2 to 3 minutes or until heated through.

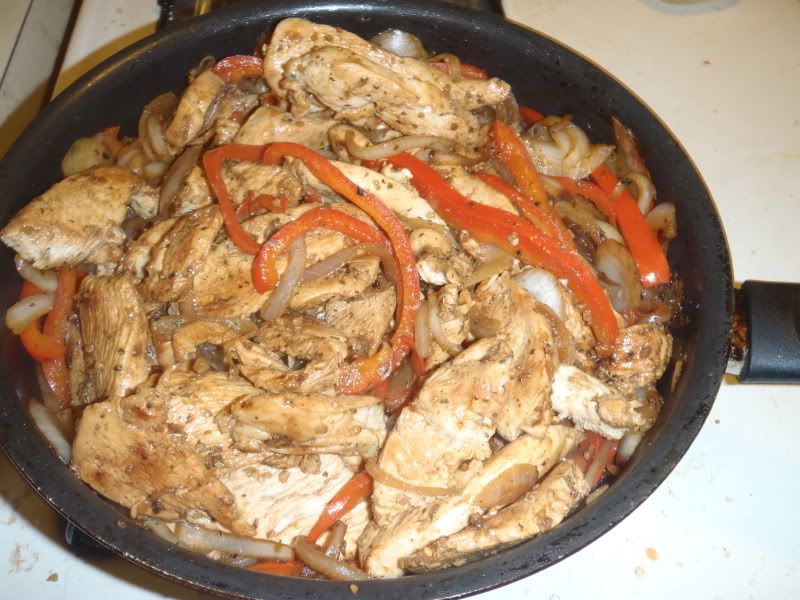
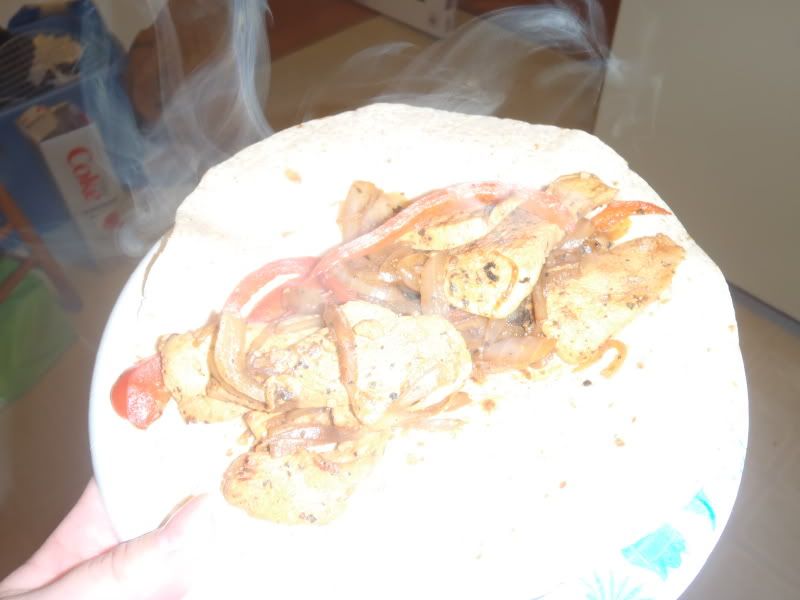
5. Spoon chicken minutes into warmed tortillas. Serve with assorted toppings, if desired.
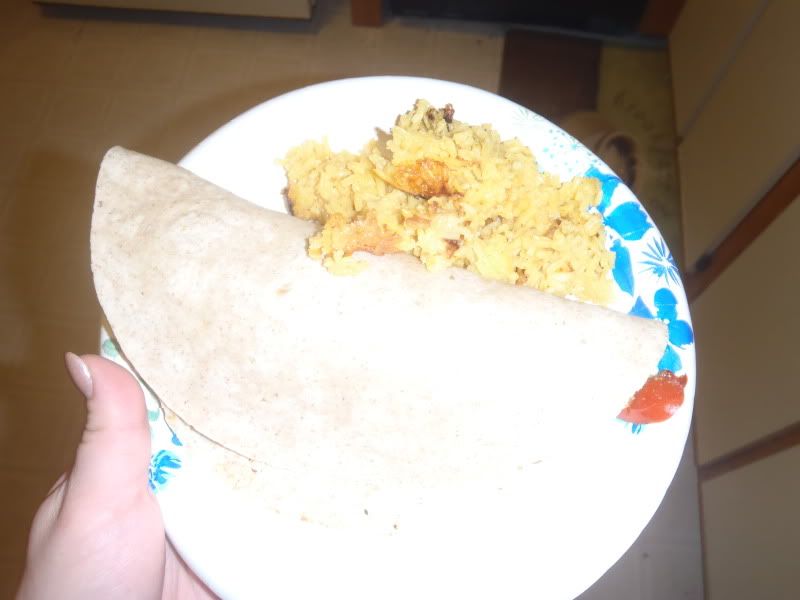
And there you go! Yeah, yeah - paper plates. I copped out. I was feeling lazy, what of it?

Man, I really need a bigger skillet. I think it's time I go and buy one bigger than 10" (insert sexual innuendo joke here).

This was a great recipe to make for having friends over. If I had thought more ahead of time, I probably would have had sour cream and cheese to add onto these fajitas, but I decided to make them at the last minute and kind of, well, forgot. But they were delicious anyway, even without added toppings. Omnom!

You know what I realized? This recipe would totally be awesome using strips of steak instead of chicken. Man, I can't wait to try that out!

Okay, the next entry is Huevos Rancheros - traditionally a breakfast dish, but there's nothing wrong with having it for dinner either! Then, I'm going to be making margarita cupcakes, and then Black Bean Stuffed Peppers (made in the crock pot)!

Until next time: ¡coma, beba y sea alegre!

Sunday, March 13, 2011

Chicken Piccata with Lemon Orzo

Piccata. I like that word. Piccata. Rhymes with hotta...or the Spanish Armada.

"House Bunny" anyone? Anyone? Bueller?
Forget you. "The House Bunny" is one of the funniest movies ever.

I have noticed, as I get older and my taste buds evolve over and over again, that I really love citrus in my foods, especially in my entrees. I love a strong, lemony flavor. Lemon over pasta, over fish, over calamari, over chicken - especially over chicken. I have TWO containers of lemon pepper seasoning. Chicken piccata definitely quenches my desire for lemony foods - paired with a great dry white wine and capers, it pleases my taste buds.

Usually chicken piccata is prepared with the chicken dredged in flour before its sauteed, but this is actually a healthy version of the dish - minus the flour and using low-sodium chicken broth in the sauce. It tastes just as good without it, I promise!

CHICKEN PICCATA WITH LEMON ORZO, courtesy of MyRecipes.com
Serves 4
YOU WILL NEED:
1 cup uncooked orzo
2 teaspoons grated lemon rind
4 (4oz) chicken cutlets (thin boneless/skinless breasts will also do)
1/4 teaspoon kosher salt
1/4 teaspoon ground black pepper
1 tablespoon olive oil
1/4 cup white wine (a dry white wine, like a Chardonnay or a Pinot is preferable)
1/2 cup fat-free, low-sodium chicken broth
1 tablespoon fresh lemon juice
1 tablespoon chilled butter, cut into small pieces
2 tablespoons chopped fresh parsley
1 tablespoon capers

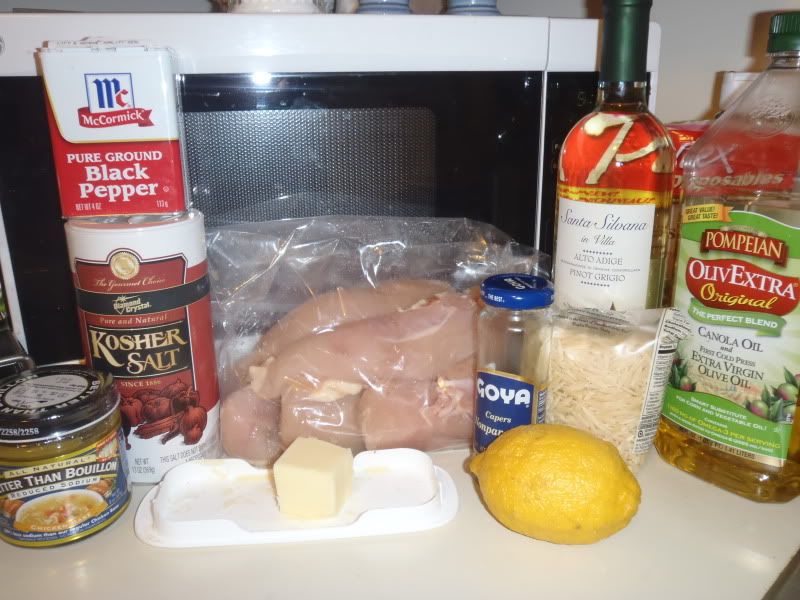
mise-en-place
I don't have any parsley, so I just did without. No big deal. You will also need a large skillet and a pasta pot. You will also need a wooden spoon or any other cooking instrument good for stirring in a hot pan (nothing that will melt or scrape the Teflon in a nonstick pan).

Orzo is a delicious little type of pasta, shaped like grains of rice (orzo actually means "barley" in Italian). It's usually used in casseroles or soups. It's not hard to find, a lot of pasta companies make orzo. Fun fact: "piccata", in Italian, means "pounded flat". Traditionally, the chicken breast would be pounded flat efore being cooked. However, by using thinly sliced chicken instead, it is unneccesary.

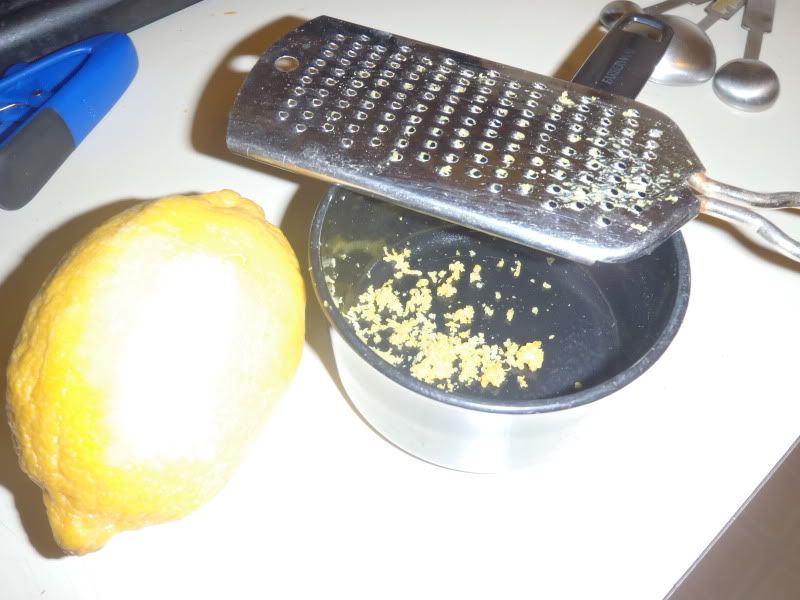
Quick note: zesting (or grating) a lemon is a pain in the @$$ process. It's a lot of work for very little rind. It's a good thing that the recipe only calls for two teaspoons of rind, because that's about all you can get from an average sized lemon. Just make sure you don't grate the white part underneath the zest - that's the most bitter part. So bitter it doesn't even taste good.
In my opinion, before you do anything else, zest your lemon. You'll thank me later.


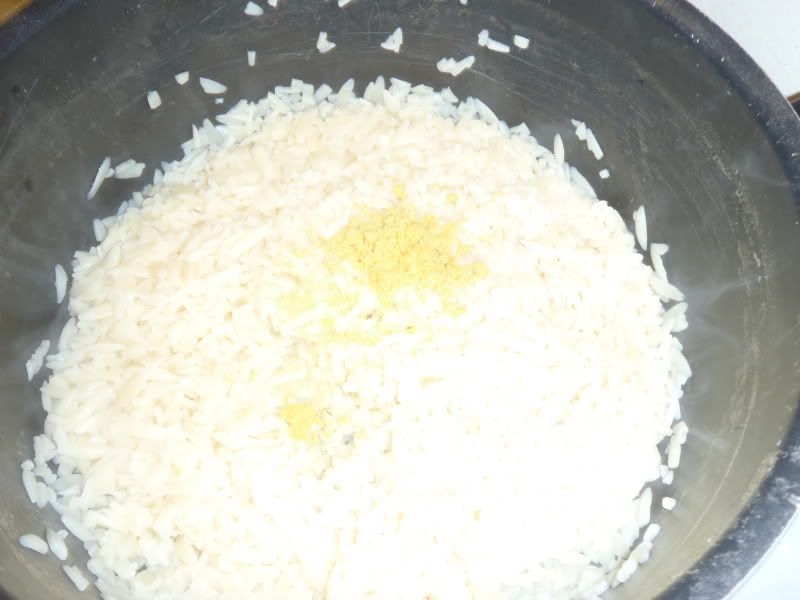
1. Cook orzo according to package directions. Drain. Stir in lemon rind.

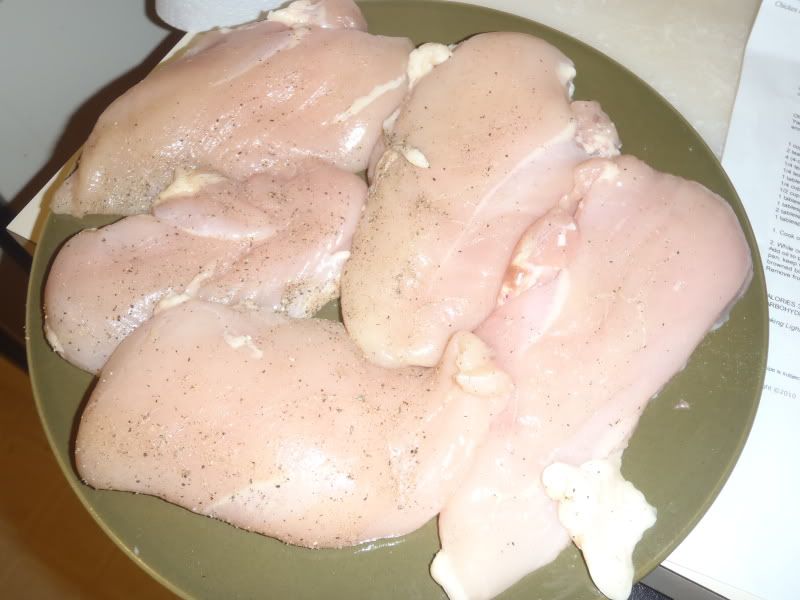
2. While orzo cooks, heat a skillet over medium-high heat. Sprinkle chicken with salt and pepper.

3. Add oil to pan; swirl to coat. Add chicken; cook 3 minutes on each side or until done. Remove chicken from pan.

4. Keep pan warm. Add wine; cook 1 minute or until liquid almost evaporates, scraping the pan to loosen browned bits.

5. Add chicken broth and lemon juice; bring to a boil. Cook 2 minutes for until reduced to 1/2 cup.

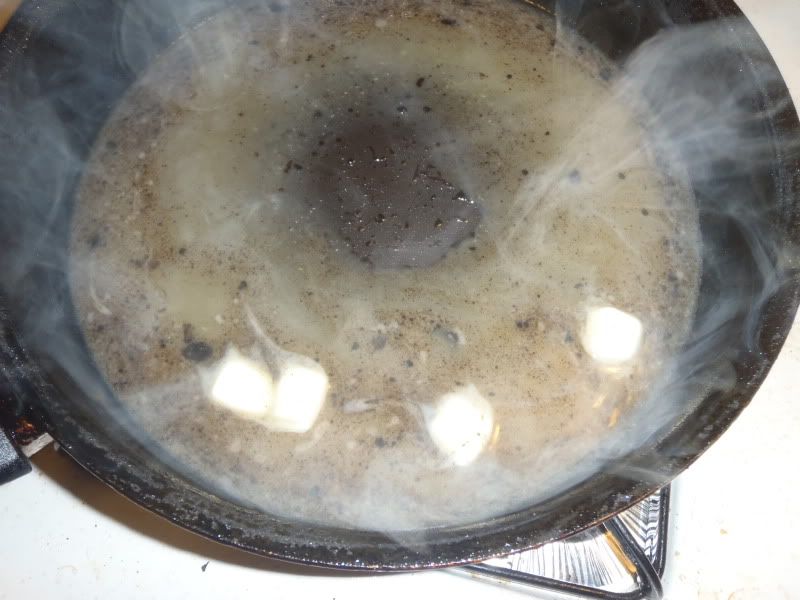
6. Remove from heat; add butter, stirring until butter melts.


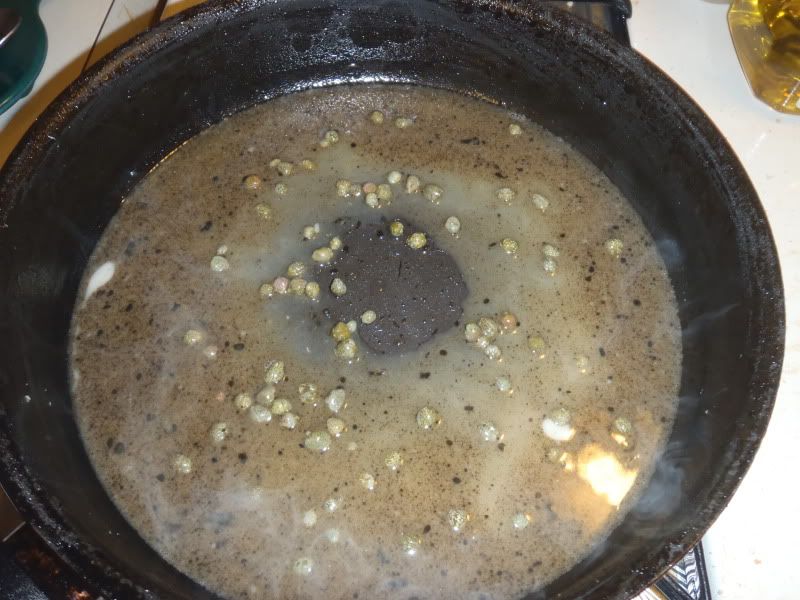
7. Stir in parsley and capers. Serve over orzo, topped with sauce.

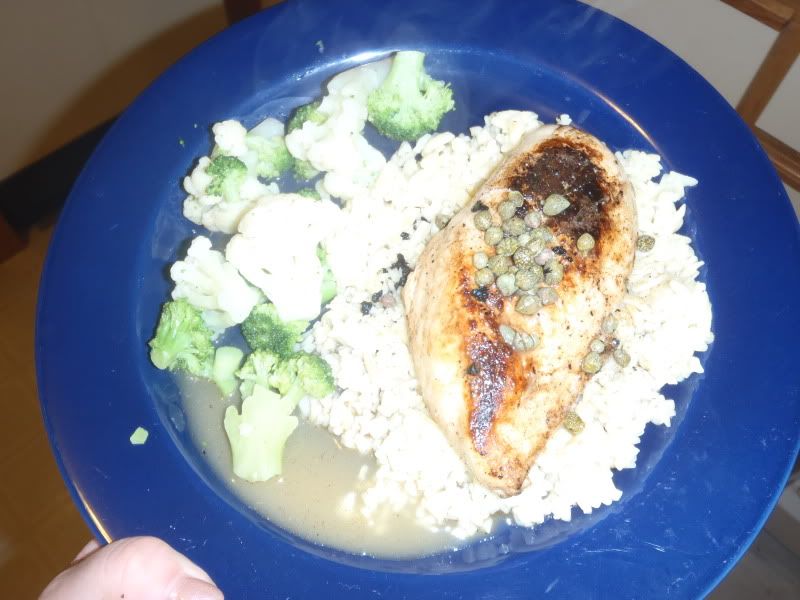
Done and done! I served cauliflower and broccoli on the side.

This is my second time making this recipe. Last time, I was happy with the chicken but not with the sauce. This time, it was the other way around. I thought the chicken tasted dry and overcooked, but my fiance disagreed and said it was perfect. I am my own harshest critic after all. I don't think my chicken was flat enough to be cooked properly, my bad. I also forgot what a true pain this recipe is. I'll cook it again just one more time in the future, just to see if I can get it 100% right (to my standards), and if I can't, I'm going to look out for another piccata recipe - which I will, of course share.

I've got only one more recipe to post before I'm gone for a week - New England clam chowder, from the crock pot! It's actually in the crock pot as we speak and I'll post the recipe tomorrow.

Until next time - eat, drink and be merry!

Friday, March 11, 2011

Homemade Fried Chicken & Mashed Potatoes

I used to live in a small town where the height of weekend entertainment was hanging out at Pathmark and going to the movies (back before tickets were 11 bucks a pop). To go anywhere exciting, you needed two things: a car (or someone with a car) and to drive at least thirty minutes down the highway. We didn't even have a Starbuck's anywhere remotely close. A few years ago, when a Sonic opened up, it was such a big deal that for weeks you couldn't go anywhere near it because the drive-thru lines were so monstrous. My brother once waited for almost two hours to get service from the roller skating waitstaff. 

Recently, I moved (thank God). I moved to a town with a main road that's been affectionately dubbed Junk Food Alley. Nearly every conceivable fast food chain is located only 5 minutes away. Well, there's no Taco Bell. A great travesty. 
Anyway, the point I'm trying to make is, when fast food is so easily within arm;s reach, it's tempting to make the wrong decisions when it comes to making food choices.

Other than Taco Bell, my biggest fast food weakness is KFC. 
Yesterday, tomorrow, and forever!
One day - actually, for several days - I was jonesing real bad for some KFC. It was all I could think about eating. But I really didn't want to spend money on fast food; it's just so bad for you, and my body's not really the type that can handle fast food. Every so often I'll cave and go to Taco Bell or Wendy's, but at KFC, I can really do some damage. So, what was my solution? Make it myself! Google is a marvelous tool for curious, novice cooks!
Frying is a technique that I had been tentative about trying, especially when I first attempted to make English-Style Fish & Chips. I thought it would be a dreadfully messy venture, sure to leave me with horrific scars from splattering oil. But, as it turns out, like most of my culinary assumptions, I was wrong! If you've got a deep enough stockpot, you can fry.

This recipe is not exactly the Colonel's 11 herbs and spices, but it's just as good. It comes from the Food Network's website, courtesy of Ina Garten, aka the Barefoot Contessa. I decided at the last minute to make homemade mashed potatoes and didn't think to take pictures of the process. However, I will include the recipe so that you can have a good old Southern family dinner!

Please note: the chicken needs to be prepped OVERNIGHT!


OVEN-FRIED CHICKEN, courtesy of the Food Network & Ina Garten
YOU WILL NEED:
2 (3 lb) chickens, cut into 8 serving pieces
1 quart buttermilk
2 cups all-purpose flour
1 tablesppon kosher salt
1 tablespoon ground black pepper
Vegetable oil or vegetable shortening
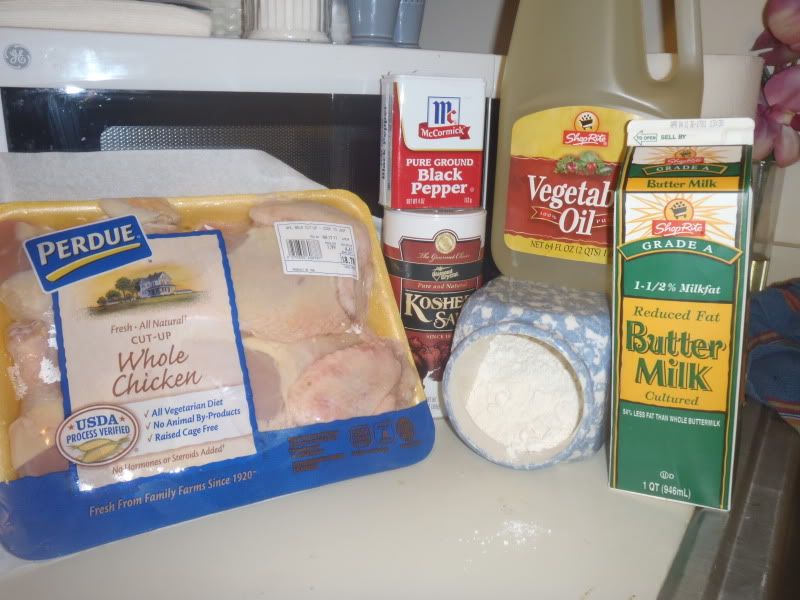
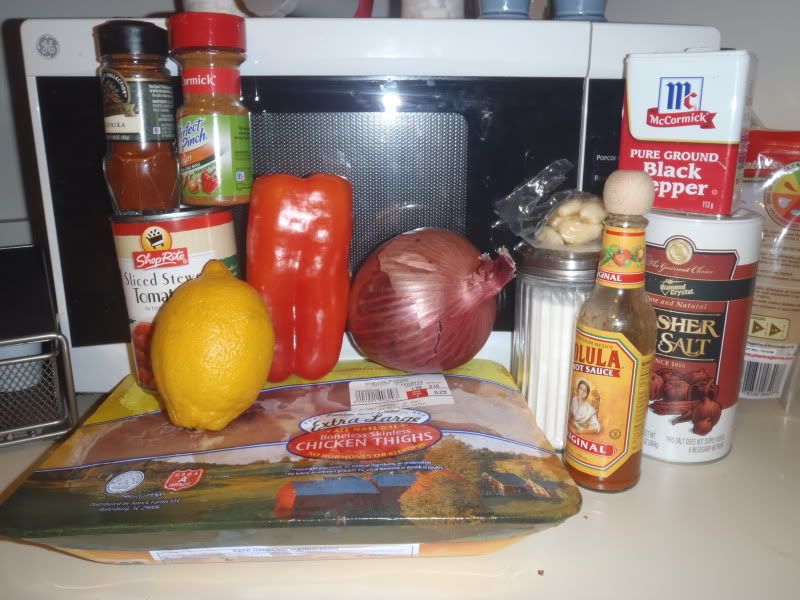
mise-en-place
Oh, buttermilk - my arch nemesis. We meet again. Luckily, this time I was in need of an entire quart and it did not go to waste! Huzzah! It is, however, still gross.

As you're probably well aware, I am all for shortcuts. Instead of getting two 3-pound chickens that I had to dismember myself, I found in the meat department, the most glorious thing: a whole chicken already cut up, by Perdue! AH! It was about one dollar more expensive than buying a pre-dismembered chicken, but you know what? If I don't have to do it, I'm going to pay that extra dollar. So, if you know how to take apart a chicken, disregard this shortcut. But if you're a little too nervous to attempt it yourself, Perdue's whole cut up chicken is right up your alley. Be forewarned, the breast pieces are monstrous! I had to to fry them one at a time because my stockpot simply was not big enough.
Alright, let's make some finger-lickin' fried chicken in your very own kitchen!
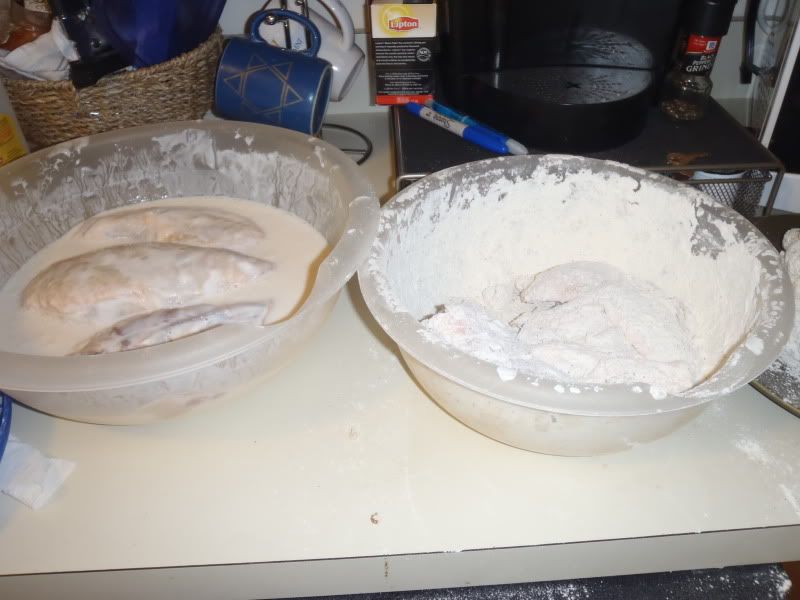
1. Place all the chicken pieces in a large bowl and pour the buttermilk over them. Cover with plastic wrap and refrigerate overnight.

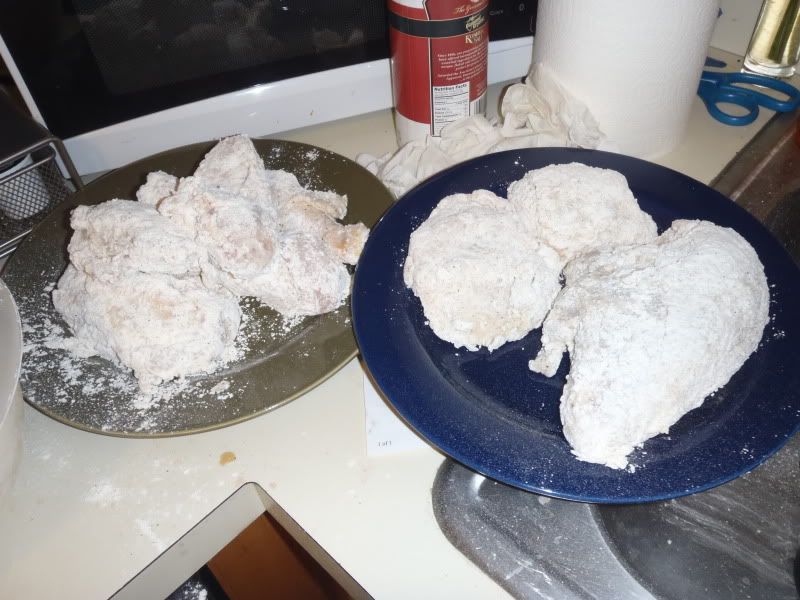
2. Preheat the oven to 350 degrees F. Combine the flour, salt, and pepper in a large bowl. Take the chicken out of the buttermilk and coat each piece thoroughly with the flour mixture (if your bowl has a lid, it's much simpler if you cover the bowl and shake it to coat the chicken pieces).

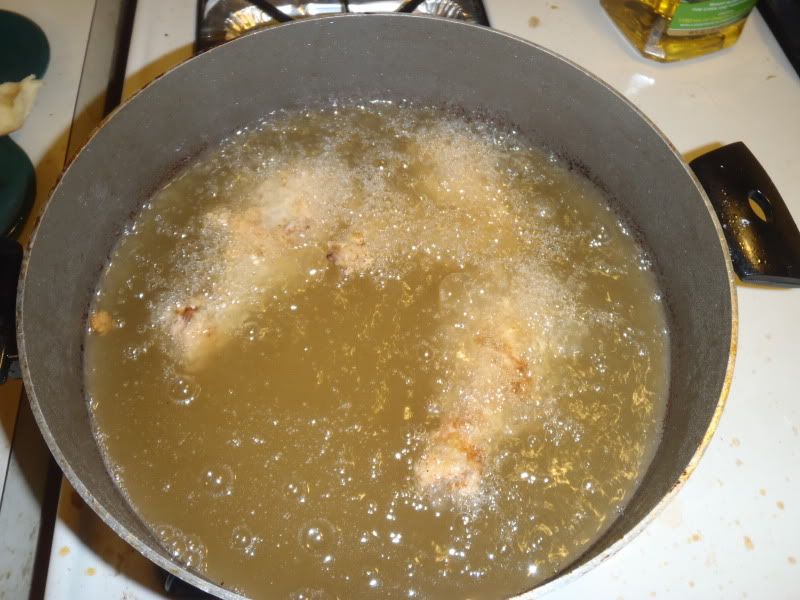
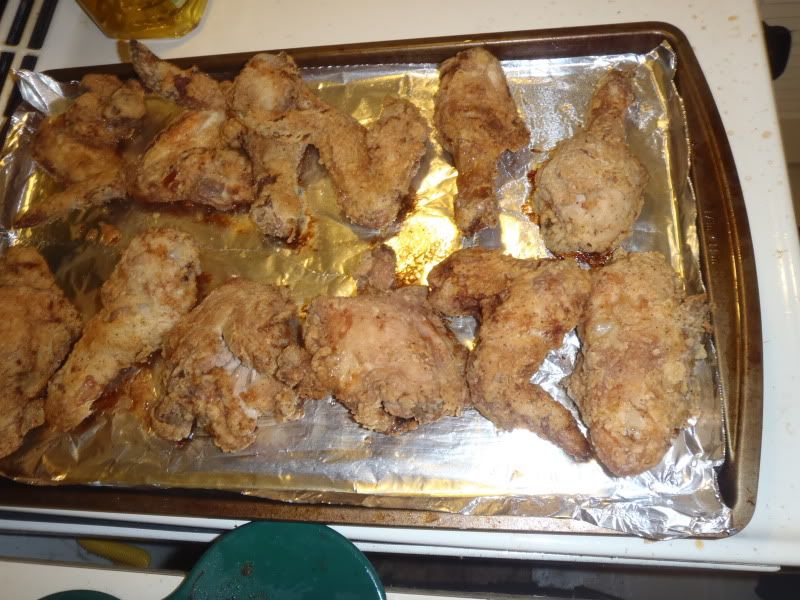
3. Pour oil into a large, heavy-bottomed stockpot to a depth of 1 inch and heat to 360 degrees F on a thermometer. Working in batches, carefully place several pieces of chicken in the oil and fry for about 3 minutes on each side until the coating is a light golden brown (it will continue to brown in the oven). Don't crowd the pieces.

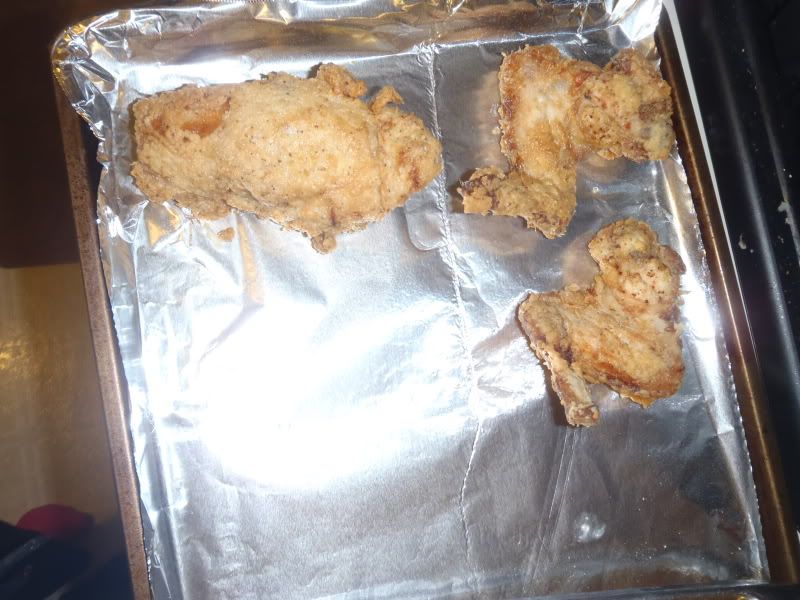
5. Remove the chicken from the oil and place each piece on a metal baking rack set on a sheet pan (if you do not have a metal baking rack, it is perfectly okay). Allow the oil to return to 360 degrees F before frying the next batch.

6. When all the chicken is fried, bake for 30 to 40 minutes, until the chicken is no longer pink on the inside. Serve hot.

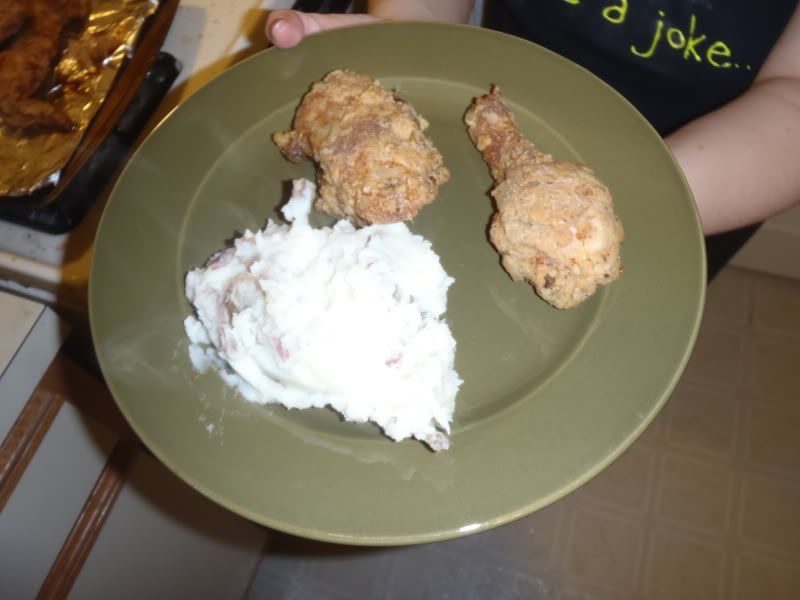
Now, like I said, I decided at the last minute to make homemade mashed potatoes. I know I said in the Costolette alla Pizzaiola entry that there's nothing wrong with instant mashed - and there isn't. But I was craving a chunky type of side dish. Not quite instant mashed, and not quite baked potatoes. Homemade mashed potatoes are, in my opinion, that perfect compromise.


TRADITIONAL MASHED POTATOES, courtesy of Allrecipes.com
YOU WILL NEED:
6 medium potatoes, cubed (russet or red or a combination of both will do)
1/2 cup warm milk
1/4 cup butter or margarine
3/4 teaspoon salt
Dash of pepper, to taste.

You will also need a large saucepan or stockpot, and a large ore medium-sized mixing bowl. 

1. Place potatoes in a saucepan and cover with water. Cover, and bring to a boil.
2. Cook for 20-25 minutes, or until the potatoes are very tender.
3. Drain well, place potatoes in a mixing bowl. Add milk, butter, salt and pepper.
4. Mash and serve!


If you don't have a potato masher, any broad type of spoon will do. I like it a little chunky so I didn't have to do a lot of mashing.

Anyway, there you have it! This chicken was perfect. It was easy, despite the frying. My only gripe was that it took just so long to make. But then again, I started cooking late and maybe I was just impatient.

I'm tagging this as EASY and SIDE DISH. Both the chicken and potatoes are easy. If you've never tried to fry before, I'd say this is the perfect recipe to try it out on. I don't think I'll ever buy fast food fried chicken ever again! By the way, it tastes DELICIOUS cold - just like good fried chicken should!

Well, tonight is leftovers night. Tomorrow is chicken piccata and Sunday is homemade New England clam chowder! YUM! Then I'll be gone for a few days. Can you stand it?

Until next time - eat, drink and be merry! Happy Friday!

Sunday, March 6, 2011

Chicken Creole with Turkey Kielbasa

It feels like forever since I blogged, but in reality it's been less than a week! I think it's because this week I actually skipped out on post! I'm so ashamed by this this that it borders on ridiculousity.

Wednesday afternoon, my fiance and I decided, completely out of the blue, to drive to Pennsylvania to go to Borders. As in, the bookstore. Now, we have not one but TWO bookstores within a half hour drive of our apartment. But it went like this: while we were out running errands, we decided to swing by a local bookstore that we knew was going out of business. However, when we pulled into the parking lot, we were just in time to see a bunch of dudes loading shelves into the back of a truck. Well, crap. 

So, we decided that we were going to just go to Borders in the mall in the next town over. But, after driving for about 20 minutes, I found out there was no Borders in that mall. Where's the closest one, from where we are now? Pennsylvania. Alrighty, then. 

What I totally forgot about was dinner - Sloppy Joes for "Face Off" night. The recipe I had took a whopping 6 to 8 hours in the crock pot. We have a terrible habit of eating very late at night on "Face Off" night. If we were going to eat by a decent hour, everything had to be in the crock pot by 1:30, at the latest, and only if I cooked it for 6 hours instead of 8. But where was I at 1:30? Pennsylvania. 

Okay, I thought. I think I can fudge this a little. If I can make it by 3:30, it will still be okay. This was not the case. We didn't get home until after 4pm, and by that time I was so frazzled and stressed about getting everything done on time that I just wanted to bang it out and get it in the crock pot. We didn't eat until a quarter after 10, by the way.

The Sloppy Joes came out awesome, though. Just saying. Despite the fact that it was an undeniably easy recipe, I just didn't have the patience to photograph and post. I'll make sure to post a similar recipe in the future.

This recipe was definitely not the easiest one I have attempted. Not because it was difficult - it wasn't. However, it involves a lot of time-consuming chopping that makes this a little bit more of a weekend type recipe, one that you prepare on a Saturday or Sunday morning so that you can enjoy the day out with your family or friends or significant others and come home to a relaxing dinner!

I'm making this recipe in honor of my recent trip to St. Lucia, where the Caribbean cuisine is heavily influenced by Creole culture. Lots of spices and stews! The original title of this recipe, from the "Crock Pot Recipe Collection", is "Cajun Chicken & Shrimp Creole". However, I was strapped for cash and did not want to spend money on buying the amount of shrimp the recipe requires. So, while I will provide the recipe as it is printed (don't I always?), I'll show you how to make proper substitutions that are good for you and your wallet!

CHICKEN CREOLE WITH TURKEY KIELBASA
(or, Cajun Chicken and Shrimp Creole) 
Makes about 6 servings
YOU WILL NEED:
1 lb boneless, skinless chicken thighs
1 red bell pepper, chopped
1 large onion, chopped 
1 stalk celery, chopped 
1 (15oz) can stewed tomatoes, un-drained and chopped
1 clove garlic, minced 
1 tablespoon sugar 
1 teaspoon paprika
1 teaspoon Cajun seasoning
1 teaspoon salt 
1 teaspoon black pepper 
1 pound shrimp, peeled, deveined and cleaned
1 tablespoon fresh lemon juice 
Louisiana-style hot sauce, to taste 
Hot cooked rice 
mise en place
So...many...ingredients.

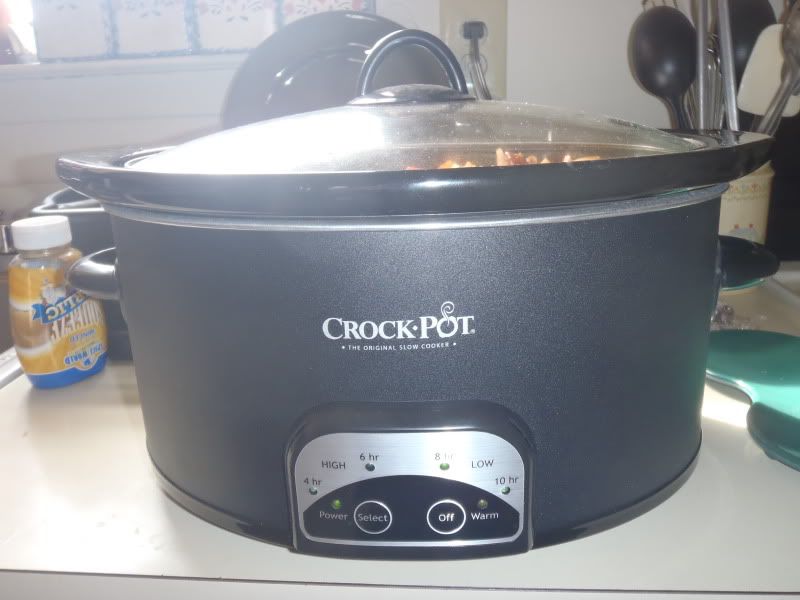
The only equipment you will need is at least a 4.5-quart crock pot. However: if you have a 5-, 6-, or 7-quart crock pot, you must double all your ingredients. My crock pot happens to be 6 quarts, so I had to double. See why I didn't want to use shrimp? Two pounds of it would easily cost me about $20. 

This is something I learned from my mom: when cooking in a crock pot, if you omit something (like how I omitted the shrimp), you must make up for it. Otherwise, your liquid-to-solid ratio is going to be off, and the recipe might not come out as good. 

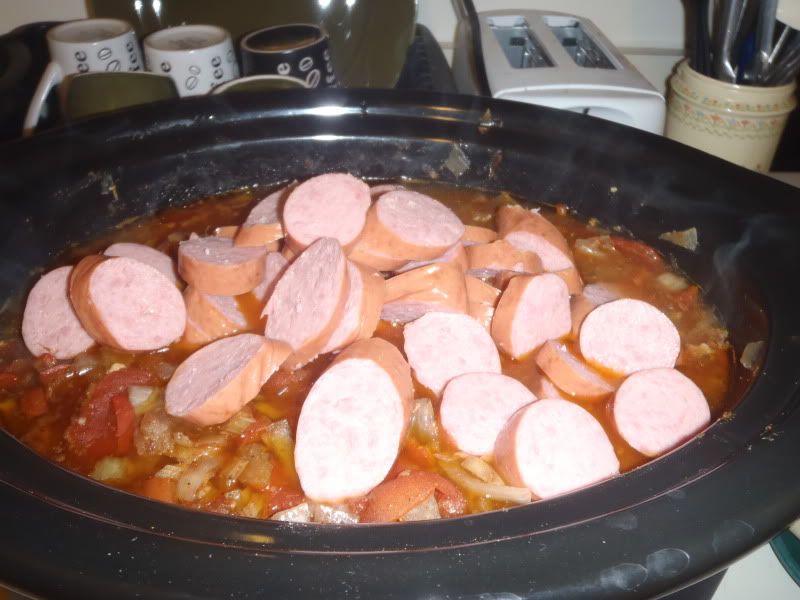
You do not have to replace the shrimp with turkey kielbasa. You can use regular kielbasa, or andouille sausage, or even sub an extra pound (or two) of chicken. Make sure you buy the kielbasa already fully cooked. As long as you have 2 or 4 pounds of meat/protein (depending on if you're doubling), the possibilities are limitless and delicious. In this recipe, I used three pounds of chicken and one pound of kielbasa.

Here is the recipe as written, with my comments/substitutions in italics.

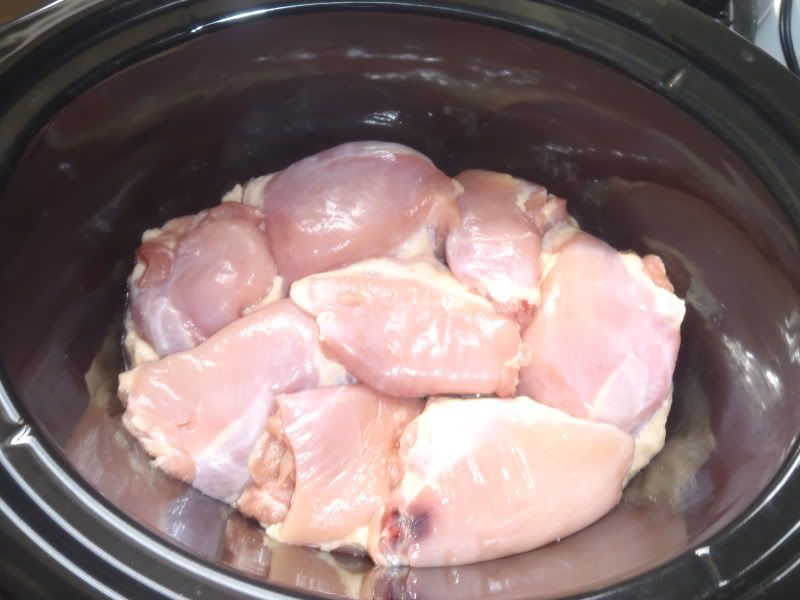
1. Place the chicken thighs at the bottom of the crock pot

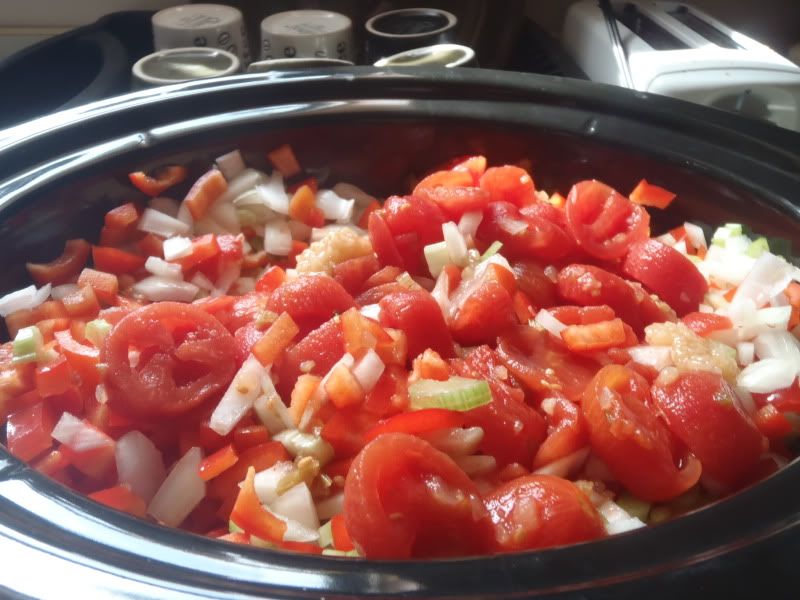
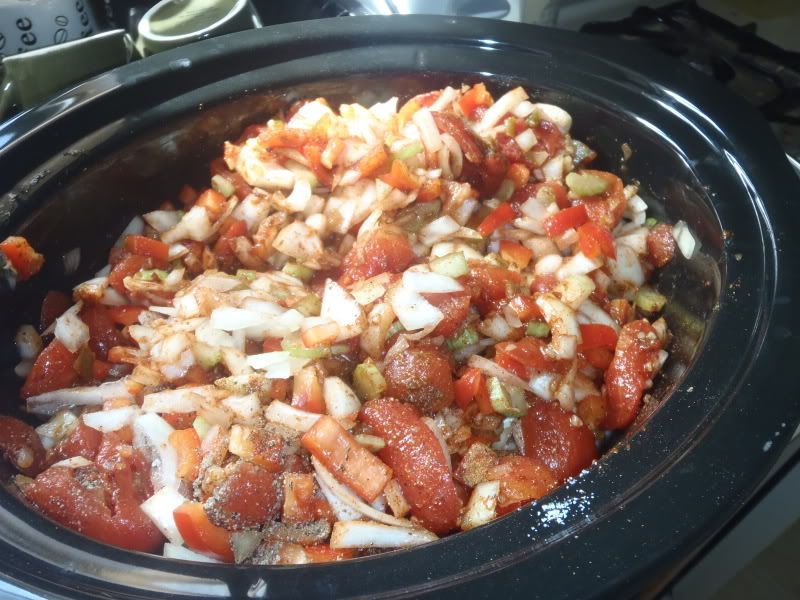
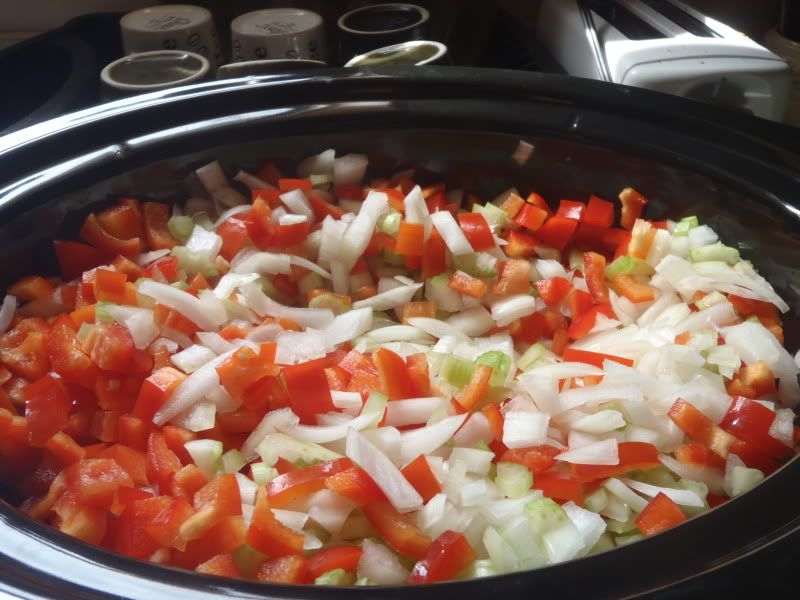
2. Add chopped bell pepper, chopped onion, diced celery, tomatoes with the juice, minced garlic, sugar, paprika, Cajun seasoning, salt and pepper. Cover; cook on LOW 7 to 9 hours or HIGH 3 to 4 hours (the longer the cook, the more tender your chicken will be).
give it a good mix to evenly distribute spices.

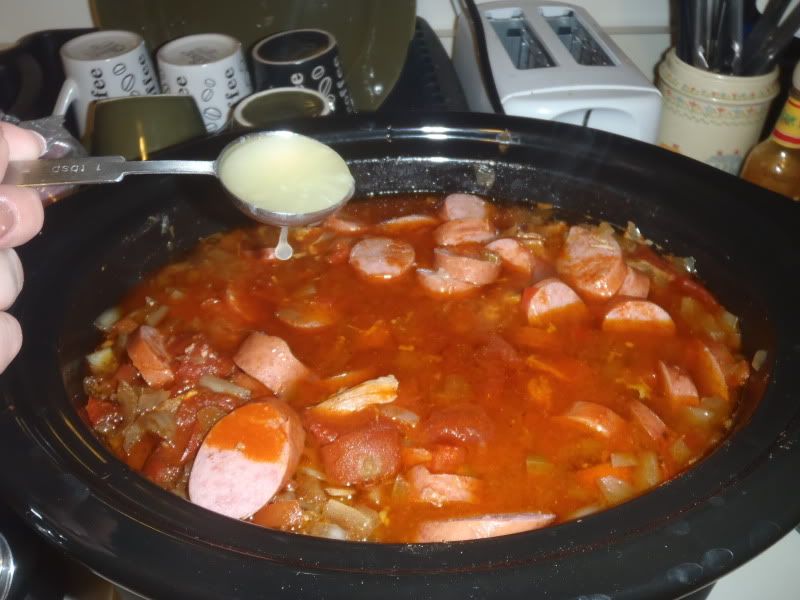
3. Add shrimp (or kielbasa, if using), lemon juice and hot sauce. Cover; cook on LOW 45 minutes to 1 hour (or until shrimp are done).

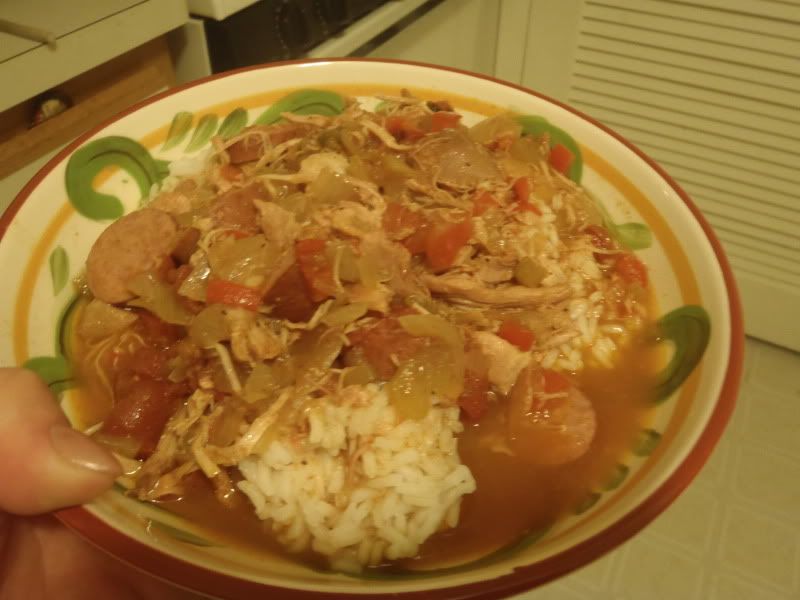
4. Serve over hot cooked rice!

A beautiful dish, if I do say so myself! The recipe says that it feeds 6, but when doubled it could easily feed at least 8. It could quite possibly feed up to 12 people! Therefore, I am labeling this Pot-Luck, because it is a perfect dish to bring to a dinner party or any type of gathering where food would be welcomed and appreciated. Don't forget to bring some extra hot sauce for those who love the spice. 

I love very savory foods, and the finished dish didn't have enough "kick" for me. So, instead of two tablespoons of lemon juice, I added as much juice as I could squeeze out of the thing. Also, I added extra sprinklings of salt, pepper and lots more Cholula - which isn't exactly Louisiana-style hot sauce, but it did the trick. Of course, you are free to adjust the spices and flavors as you wish and make it truly your own!

Upcoming recipes are TBD...short way of saying "I have to freaking clue". But until next time - eat, drink and be merry!!


PS: Guess what I saw a commercial for today? McCormick Recipe Inspirations!!! Remember, I used them here and here? Finally, some recognition for an awesome product!

PPS: New tag for this and other recipes: Lots of Leftovers! Meaning, this dish will not only feed you for one meal, but it guarantees more.

PPPS: I've added ads to the site to help me generate a bit of revenue. So if you love me, click on some ads and help me make a little extra money! =)