Your kitchen's more afraid of you than you are of it.
Showing posts with label Spicy. Show all posts

Saturday, January 28, 2012

White Bean and Chicken Chili

The first time I made this recipe was the night of the Great Halloween Blizzard of 2011. I will never forget that night! All week, the weatherdudes on the news are like, "GUYS, THERE IS SNOW COMING THIS WEEKEND I'M NOT KIDDING THIS IS GOING TO HAPPEN." Meanwhile, everyone else was like:

And then ... for once ... the weatherpeople were RIGHT!!!! Matt was at work on Saturday, October 29, when it started snowing. It was pretty light at first, no one really made too much of it. "This will pass," we said. "A dusting, a flurry. No big deal." But the snow. Did not. Stop. It was madness!  My sweet next door neighbor advised me not to go out unless I had to. I said, "I'm sure I'll be fine!" But it wasn't fine. I didn't even make it out of my complex because the roads were all slushy and slick. The roads weren't plowed or salted because no one planned on having plows at the ready two days before Halloween. And then everyone was all:

We were supposed to go to a Halloween party that night, and the host sent out a mass text message that pretty much told us that the weather was not pretty and the party would take place next week. Later, Matt called me and said that his coworker Dan's car was stuck in the snow and they couldn't dig him out. Could Dan come spend the night at our place? Sure, no problem! Dan came over, then Colleen came over, we were all hanging out, having a good time, making fun of the snow, I made white bean & chicken chili, we were about 20 minutes into Clerks when....the power went out. And it stayed out. For the next 9 hours. Bummer.

And that's pretty much it.

So, I really hoped the next time I planned on making this, it didn't snow, otherwise I'd never be able to make this dish again unless it was in the dead of summer.

Anyway, this is a great chili recipe with a lot of spicy kick to it and a great flavor! And, because it too comes from "Desperation Dinners", it only takes 20 minutes to make! This is another great cold-weather stew to make when you don't feel like putting too much effort into a filling meal!


WHITE BEAN & CHICKEN CHILI, courtesy of "Desperation Dinners"
Makes 4 servings
YOU WILL NEED:
3 skinless, boneless chicken breasts (for about 1 pound total), fresh or frozen
1 teaspoon olive oil
1 large onion (for 1 cup chopped)
1 tablespoon bottled minced garlic
1 (15 oz) can Great Northen white beans
1 (19 oz) can cannellini beans
1 (4.5 oz) can chopped green chilies
1 1/2 teaspoon ground cumin
1 teaspoon pepper, preferably white
1/8 teaspoon cayenne pepper
1 (14.5 oz) can fat-free chicken broth
2 tablespoons cornstarch
2 tablespoons water
1/2 cup already-shredded Monterey Jack cheese (optional)
1/4 cup reduced-fat sour cream (optional)

You will also need a Dutch oven or soup pot (at least 5 quarts). This is a great one-pot meal!
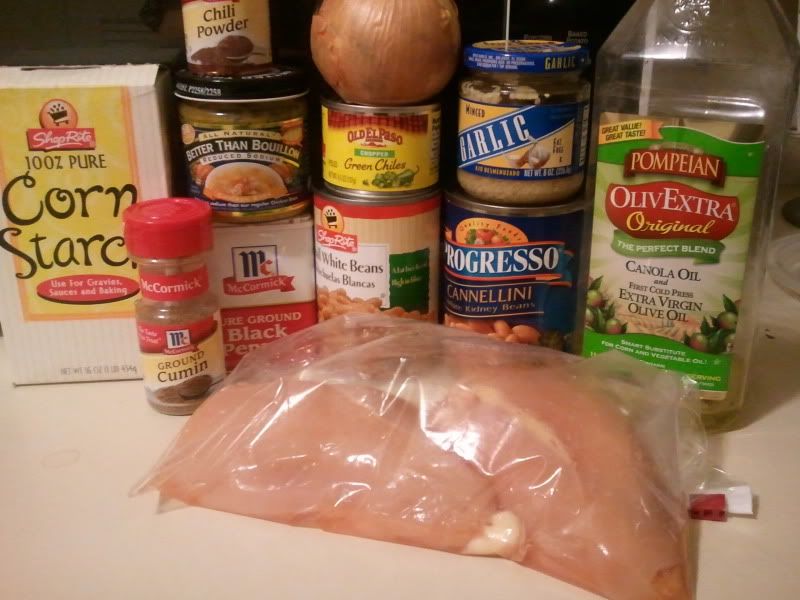
I had extra-large skinless/boneless chicken breasts at my disposal, so I only needed two as opposed to three. I even weighed them on my food scale to make sure I had about 1 pound. I did not have any white pepper, as the recipe suggests, but there is no reason at all why you can't make it with regular black pepper. The only difference is that black pepper is made from the unripe fruits of a pepper plant, and white pepper is made from the seeds of the pepper plant itself. Also, white pepper is more commonly used in dishes like potatoes, light sauces and salads, where the black pepper would stand out. With this recipe, I really don't see the difference between the black and the white, so use whichever!

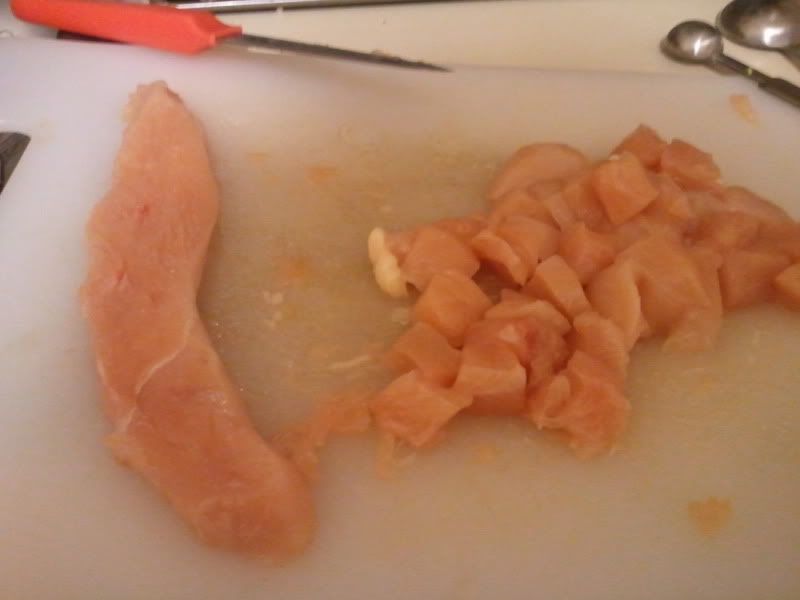
1. Defrost the chicken if it is still frozen. Meanwhile heat the oil on medium heat in a Dutch oven or soup pot. Peel or coarsely chop the onion, adding it to the pot as you chop. Stir occasionally to prevent sticking.

2. Cut the chicken (fresh or partially defrosted) into bite-sized chunks, add them to the pot and stir occasionally. Add the garlic and continue to cook, stirring occasionally.
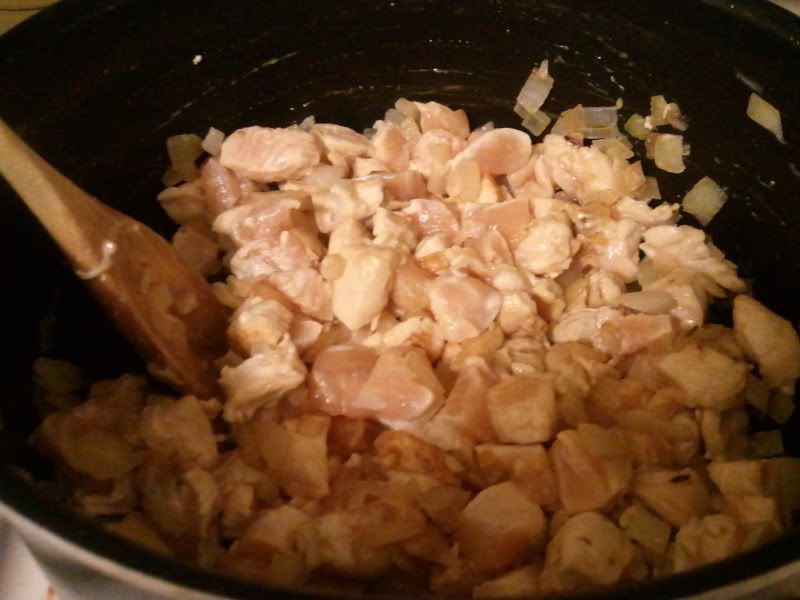
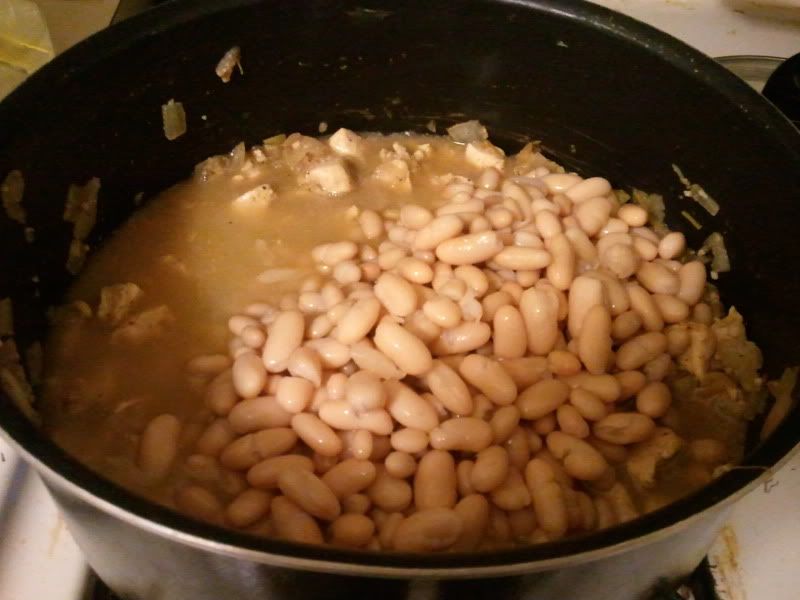
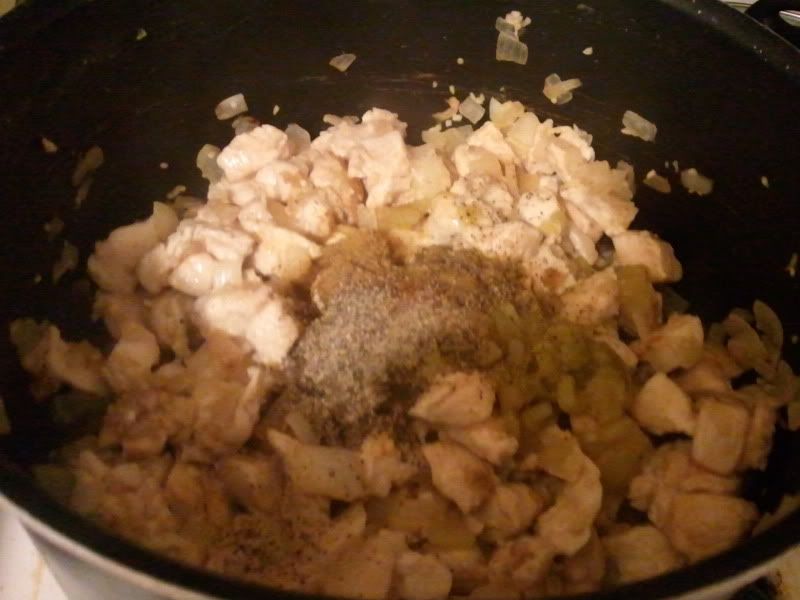
3. While the chicken cooks, drain and rinse both of the cans of beans, and drain the chilies. Add the chilies to the pot, along with the cumin, pepper and cayenne pepper. Raise the heat to high and add the chicken broth and the drained  beans. Cover the pot and bring the chili to a boil.
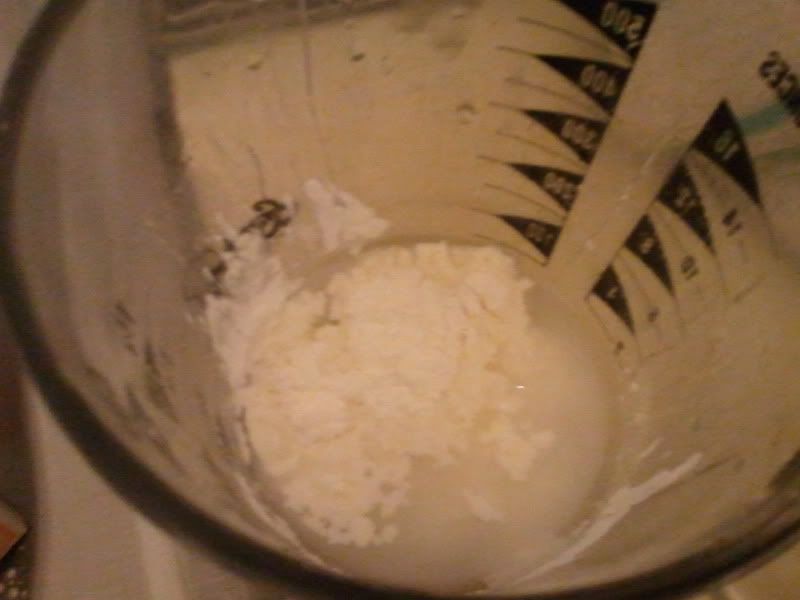
4. Meanwhile, combine the cornstarch and the water in a small container that has a lid. Shake well to remove any lumps. (Alternatively, you can do what I did, and combine them in a container and whisk them together)


5. When the chili boils, the chicken should be cooked through (even if you began with partially defrosted). Add the cornstarch mixture a little at a time, stirring constantly. Continue to boil until the chili reaches desired thickness.
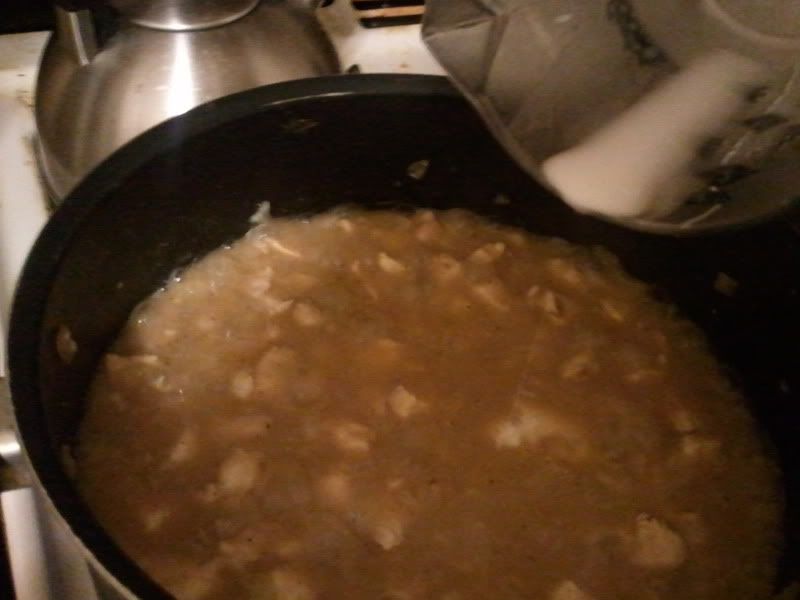
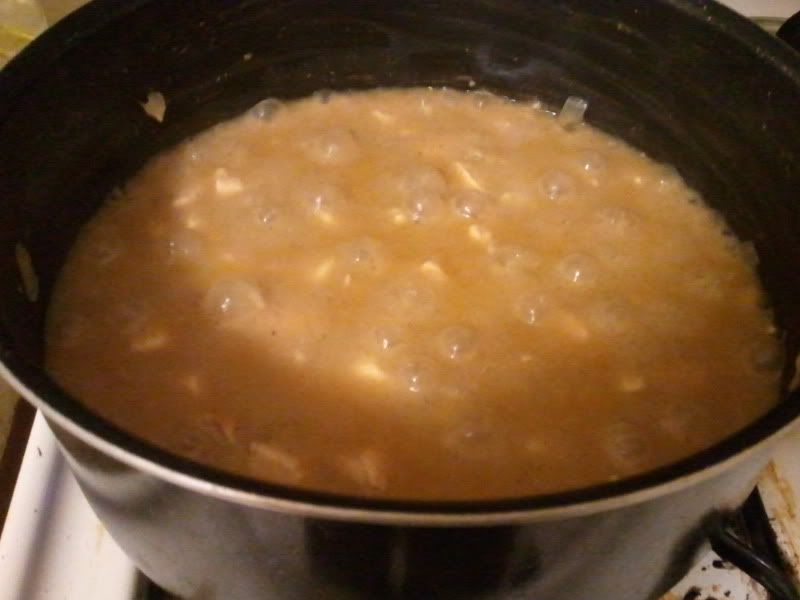
6. Remove from the heat and serve, or let the chili rest until you're ready to eat. Garnish with cheese and sour cream if desired.
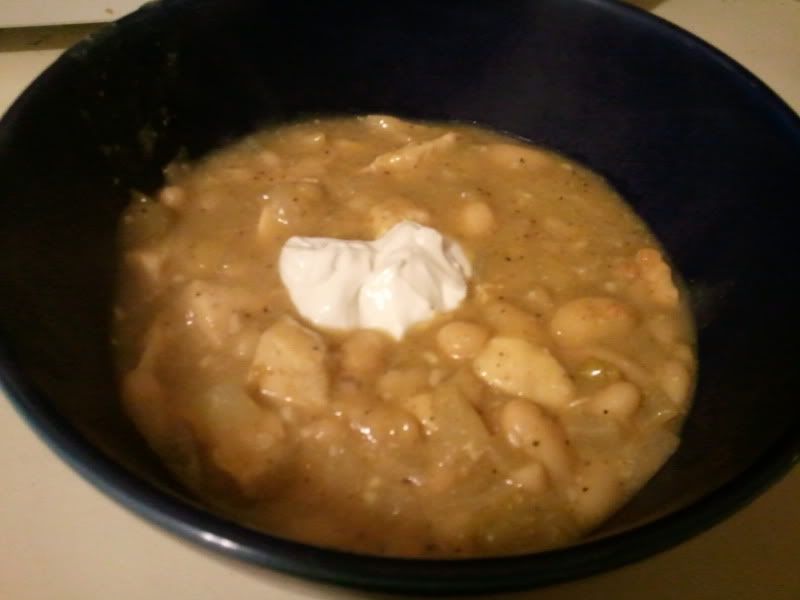
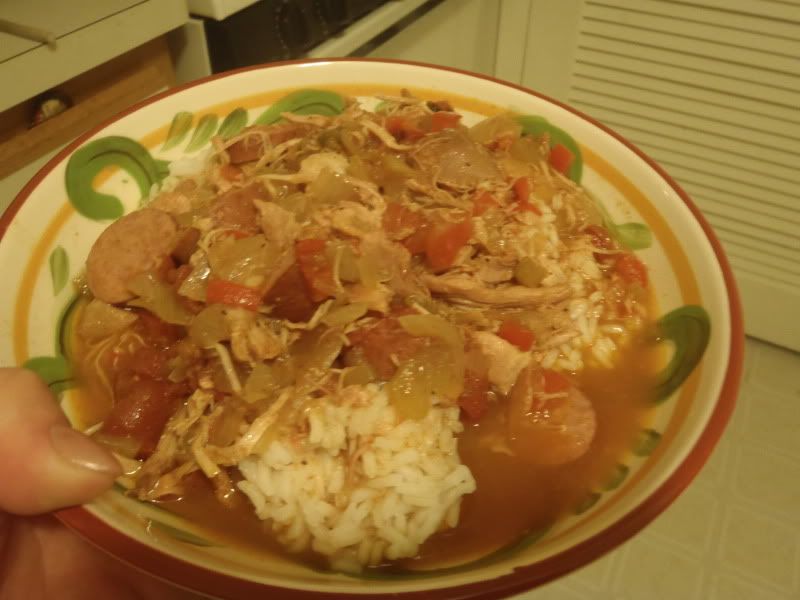
What's great about this chili is that you can clearly see every single ingredient that's in there - the onions, the beans, the chilies, and, of course, the chicken! It's really spicy, spicier than you'd think it would be, thanks in part to the green chilies and the pepper and the cayenne pepper. But if you add a dollop of sour cream when you serve it, it sort of helps "cool the burn", so to speak!

That's it for this entry! I think I'm much better at this blogging thing when I'm not pressuring myself to do it every night or even 3 times a night. I'm much happier blogging and posting at a slower pace, it seems like. As long as the readers keep reading, I will keep blogging.

I'm going to actually start cooking tonight's dinner soon, that I fully intend on blogging - but you'll have to wait to find out what it is!

Eat, drink and be merry, folks!

Saturday, January 14, 2012

Classic Crock Pot Chili

I find myself on a quiet Saturday night, drinking Arbor Mist and watching a marathon of "Glee" reruns on the Oxygen channel, with little to do (other than keep my friend Tarra occupied at a boring party by being her texting/Words with Friends lifeline). I wandered into the kitchen to refresh my glass when I opened up the fridge and saw some leftovers staring me in the face. That's when I realized I totally forgot to blog this recipe. Well, looks like I'm migrating from the couch to the computer...

Even though it's January, it finally feels like winter is here. We went through November and December with the temperatures in the 40's, 50's and 60's. We got a huge dumping of snow a few days before Halloween, which melted days later, and then suddenly it was like early spring again. Weird. But now, all of a sudden, the temperature drops, the wind chill picks up and those cardboard boxes that have been sitting on my balcony for the past few weeks are now frozen to the wood. 

Oh hey, and look at that: it just started snowing! 

Wait...fuck.

I have talked before about my favorite dinners for the winter: soups and stews! But there's something else that is added to that mix - chilis! YUM!!! When it's chilly, I like me some chili! 

I have actually TWO chili recipes I'm going to feature - one right now, and another coming up in a week or so. They are two opposite sides of the chili spectrum. This one is a classic beef chili that is made in the crock pot; the other one will be a chunky chicken chili that is done in 20 minutes on the stove. But more about that later. 

This chili recipe comes from my favorite Crock Pot Recipe Collection. I love it because it takes like, no time to make and it's a great set-it-and-forget-it type of deal. It fits into almost any time frame. You can either make it on high for 4 hours or low for up to 10 hours! 

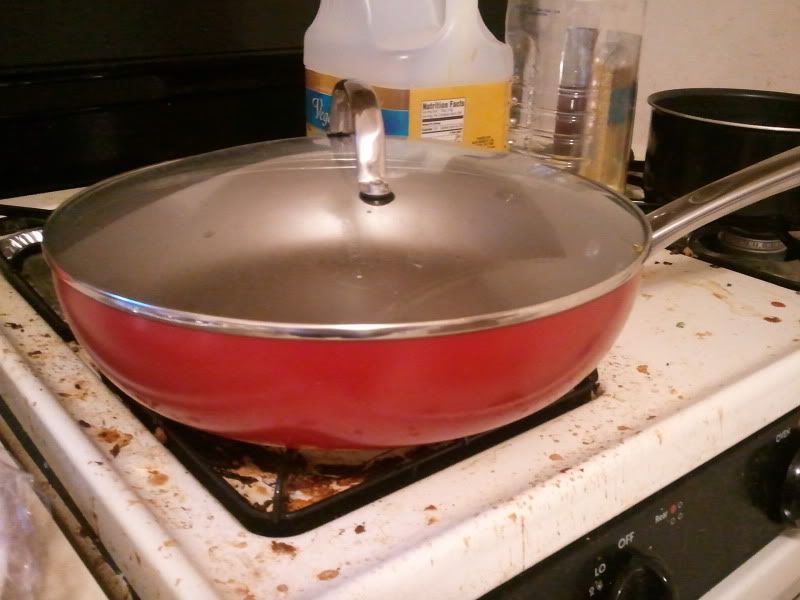
I was also really excited about this recipe because I got to use my new deep dish 12" skillet. YAY I LOVE IT SO MUCH IT'S SO PRETTY!!! 

Thanks for the Hanukkah gift, Uncle Billy!!!

I really wanted to make a really simple run-of-the-mill chili and this recipe was EXACTLY what I wanted! Here's what you do to make a great hearty dinner on a cold wintery night:

CLASSIC CHILI, from the Crock Pot Recipe Collection
Makes 6 servings 
YOU WILL NEED:
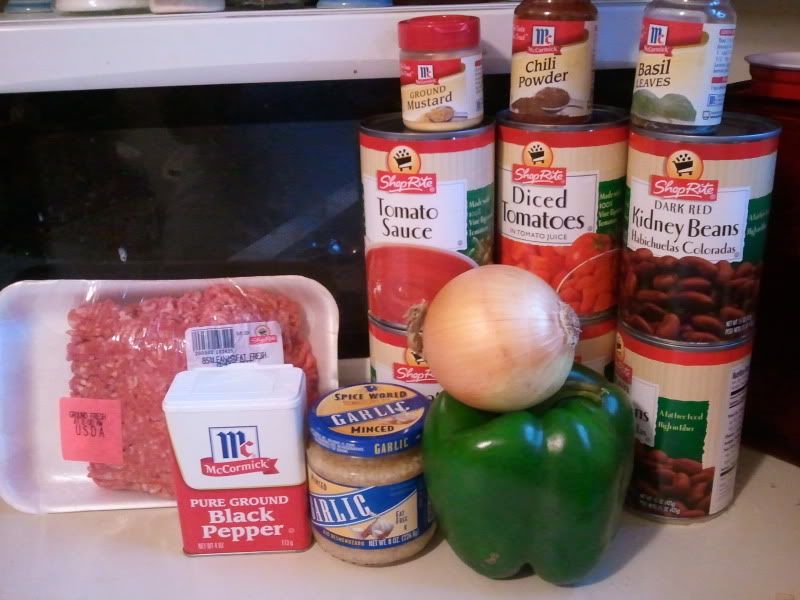
1.5lbs ground beef 
1 1/2 cups chopped onion 
1 cup chopped green bell pepper
2 cloves garlic, minced 
3 (15 oz) cans dark red kidney beans, rinsed and drained 
2 (15 oz) cans tomato sauce 
1 (14.5 oz) can diced tomatoes, undrained 
2 to 3 teaspoons chili powder 
1 to 2 teaspoons dry hot mustard 
3/4 teaspoon dried basil 
1/2 teaspoon black pepper 

1 to 2 dried hot chili peppers (optional)


I did not use the dried hot chili peppers. Nor did I have dry hot mustard. What I did have was ground mustard, which I mixed with chipotle chili powder, and I increased the amount of chili powder to make up for the heat the dry hot mustard might have provided. 

Damn, that's a lot of cans
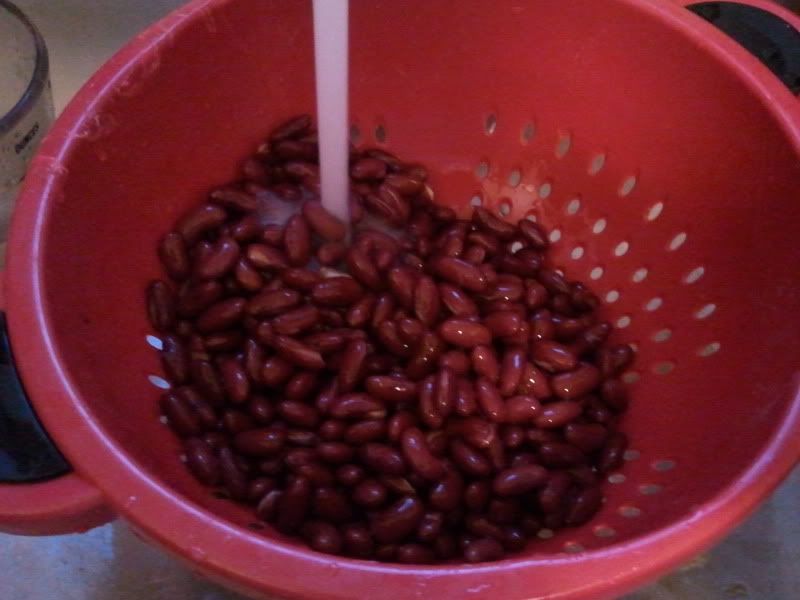
My mise-en-place is amazing, guys. Oh, and a quick note - don't forget to rinse and drain your red beans! And when you do, rinse with COLD water. If you use hot, it will start to cook the beans. You want them to be firm before you throw them in the slow cooker! 


Here's another reason why I like this recipe: there are only THREE steps! So, here is what you do: 

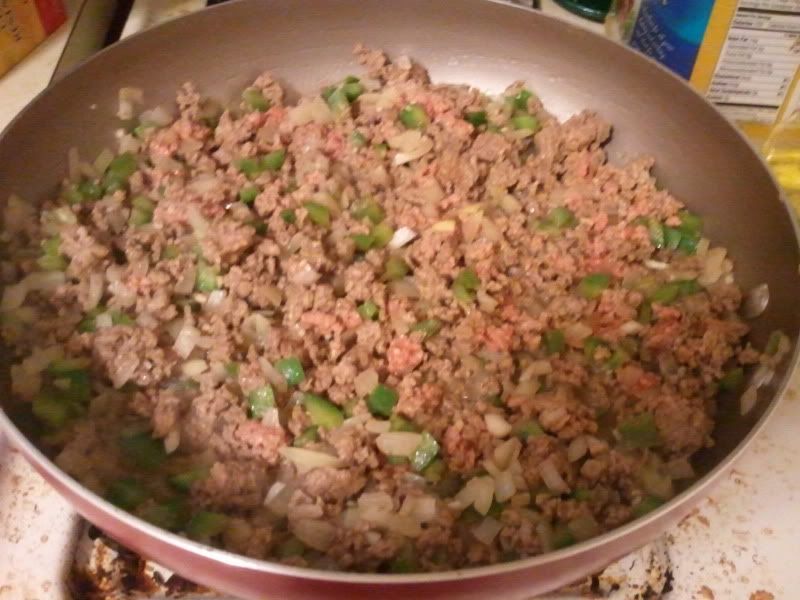
1. Cook and stir the ground beef, onion, bell pepper and garlic in a large skillet until meat is browned and onion is tender. Drain fat and discard. Transfer mixture to slow cooker. 

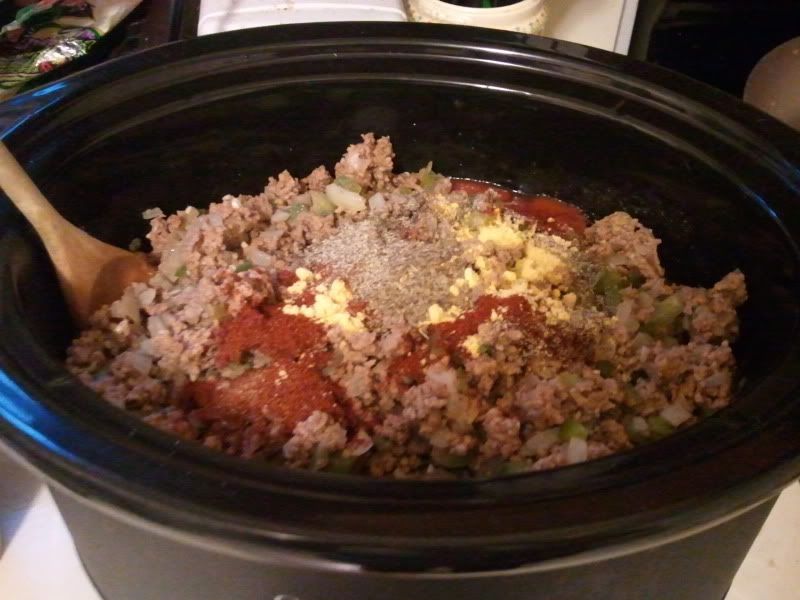
2. Add beans, tomato sauce, tomatoes with juice, chili powder, mustasrd, basil, black pepper and dried chili peppers (if desired). Mix well. Cover; cook on LOW 8 to 10 HOURS or HIGH 4 to 5 HOURS

3. Remove chili peppers before serving. 

MMmmmMMMMmmmmMMMMMMmmmmm!!!! 

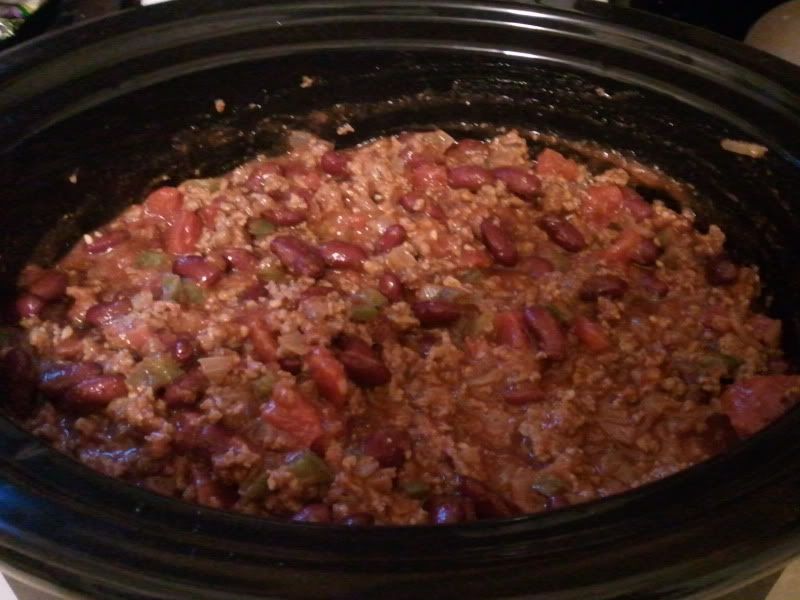
The chili came out PERFECT! The beans kept their firmness, the flavor of the chili was spot-on. It was spicy in a way that it left a slow burn on your tongue, but I didn't feel the urge to drink any more than usual and it didn't have that nasal cleaning power. It was just a really good kick.

I ate it spooned over a piece of toast, but I bet this is the perfect kind of chili to eat with mashed potatoes or even on a hot dog. It reheats really well so it is very leftover friendly. I have zero complaints about this recipe!

Huh. The snow looks like it is still coming down.

The next recipe will be a variation of sloppy joes called ... well, "sloppy janes", which doesn't sound right to me, but whatever. I'm also going to talk about my new favorite cookbook. 

Until next time - eat, drink and be merry! =D 

Sunday, March 6, 2011

Chicken Creole with Turkey Kielbasa

It feels like forever since I blogged, but in reality it's been less than a week! I think it's because this week I actually skipped out on post! I'm so ashamed by this this that it borders on ridiculousity.

Wednesday afternoon, my fiance and I decided, completely out of the blue, to drive to Pennsylvania to go to Borders. As in, the bookstore. Now, we have not one but TWO bookstores within a half hour drive of our apartment. But it went like this: while we were out running errands, we decided to swing by a local bookstore that we knew was going out of business. However, when we pulled into the parking lot, we were just in time to see a bunch of dudes loading shelves into the back of a truck. Well, crap. 

So, we decided that we were going to just go to Borders in the mall in the next town over. But, after driving for about 20 minutes, I found out there was no Borders in that mall. Where's the closest one, from where we are now? Pennsylvania. Alrighty, then. 

What I totally forgot about was dinner - Sloppy Joes for "Face Off" night. The recipe I had took a whopping 6 to 8 hours in the crock pot. We have a terrible habit of eating very late at night on "Face Off" night. If we were going to eat by a decent hour, everything had to be in the crock pot by 1:30, at the latest, and only if I cooked it for 6 hours instead of 8. But where was I at 1:30? Pennsylvania. 

Okay, I thought. I think I can fudge this a little. If I can make it by 3:30, it will still be okay. This was not the case. We didn't get home until after 4pm, and by that time I was so frazzled and stressed about getting everything done on time that I just wanted to bang it out and get it in the crock pot. We didn't eat until a quarter after 10, by the way.

The Sloppy Joes came out awesome, though. Just saying. Despite the fact that it was an undeniably easy recipe, I just didn't have the patience to photograph and post. I'll make sure to post a similar recipe in the future.

This recipe was definitely not the easiest one I have attempted. Not because it was difficult - it wasn't. However, it involves a lot of time-consuming chopping that makes this a little bit more of a weekend type recipe, one that you prepare on a Saturday or Sunday morning so that you can enjoy the day out with your family or friends or significant others and come home to a relaxing dinner!

I'm making this recipe in honor of my recent trip to St. Lucia, where the Caribbean cuisine is heavily influenced by Creole culture. Lots of spices and stews! The original title of this recipe, from the "Crock Pot Recipe Collection", is "Cajun Chicken & Shrimp Creole". However, I was strapped for cash and did not want to spend money on buying the amount of shrimp the recipe requires. So, while I will provide the recipe as it is printed (don't I always?), I'll show you how to make proper substitutions that are good for you and your wallet!

CHICKEN CREOLE WITH TURKEY KIELBASA
(or, Cajun Chicken and Shrimp Creole) 
Makes about 6 servings
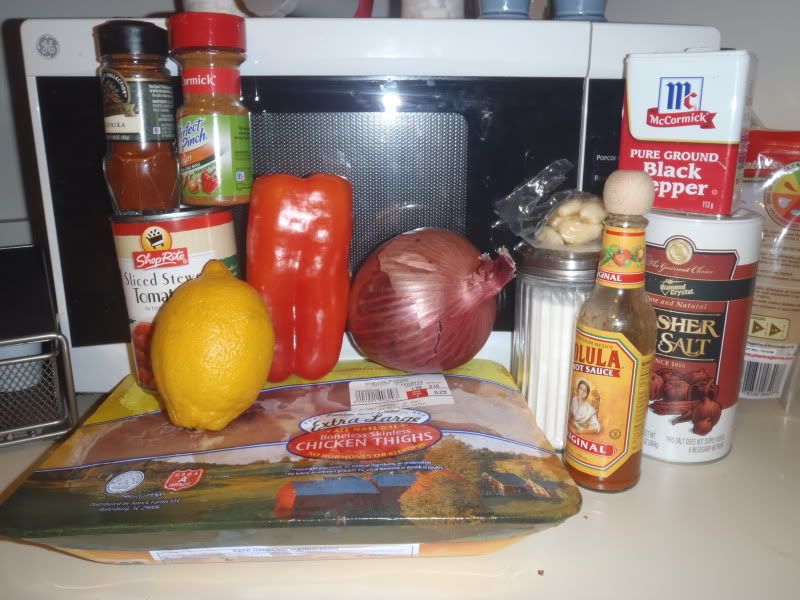
YOU WILL NEED:
1 lb boneless, skinless chicken thighs
1 red bell pepper, chopped
1 large onion, chopped 
1 stalk celery, chopped 
1 (15oz) can stewed tomatoes, un-drained and chopped
1 clove garlic, minced 
1 tablespoon sugar 
1 teaspoon paprika
1 teaspoon Cajun seasoning
1 teaspoon salt 
1 teaspoon black pepper 
1 pound shrimp, peeled, deveined and cleaned
1 tablespoon fresh lemon juice 
Louisiana-style hot sauce, to taste 
Hot cooked rice 
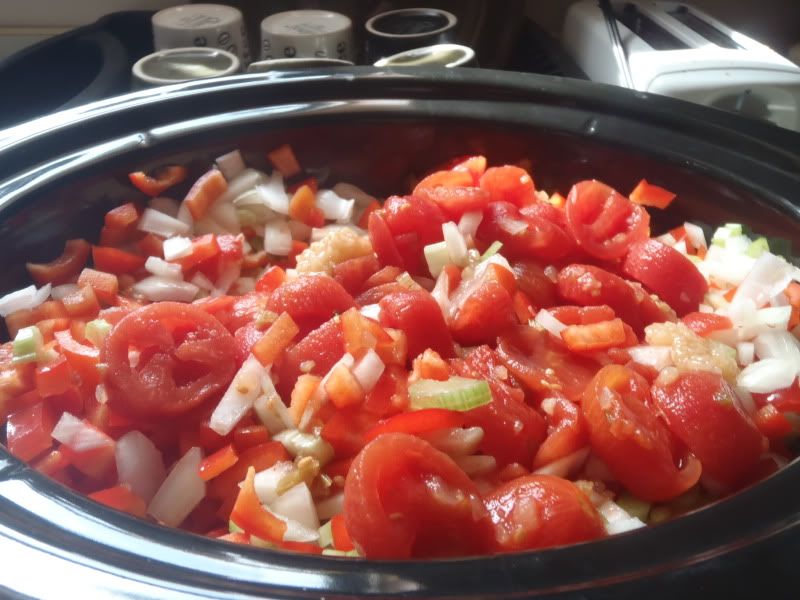
mise en place
So...many...ingredients.

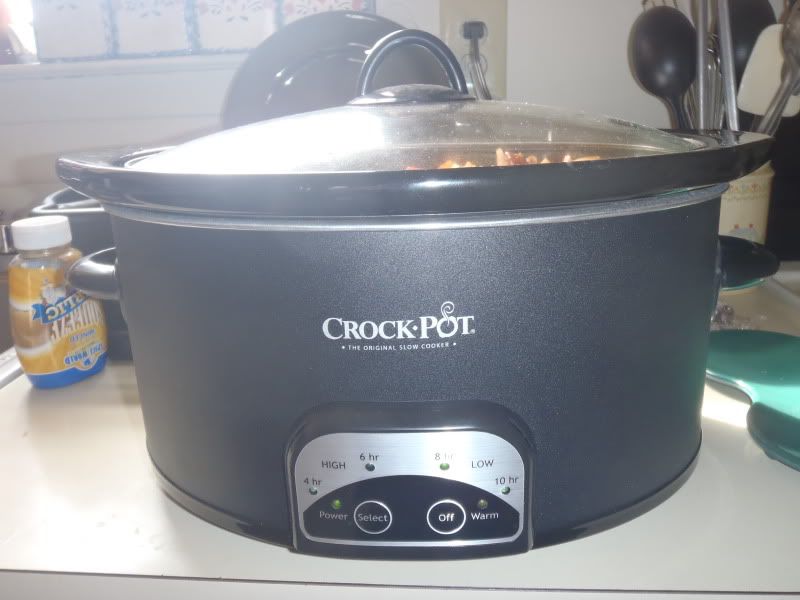
The only equipment you will need is at least a 4.5-quart crock pot. However: if you have a 5-, 6-, or 7-quart crock pot, you must double all your ingredients. My crock pot happens to be 6 quarts, so I had to double. See why I didn't want to use shrimp? Two pounds of it would easily cost me about $20. 

This is something I learned from my mom: when cooking in a crock pot, if you omit something (like how I omitted the shrimp), you must make up for it. Otherwise, your liquid-to-solid ratio is going to be off, and the recipe might not come out as good. 

You do not have to replace the shrimp with turkey kielbasa. You can use regular kielbasa, or andouille sausage, or even sub an extra pound (or two) of chicken. Make sure you buy the kielbasa already fully cooked. As long as you have 2 or 4 pounds of meat/protein (depending on if you're doubling), the possibilities are limitless and delicious. In this recipe, I used three pounds of chicken and one pound of kielbasa.

Here is the recipe as written, with my comments/substitutions in italics.

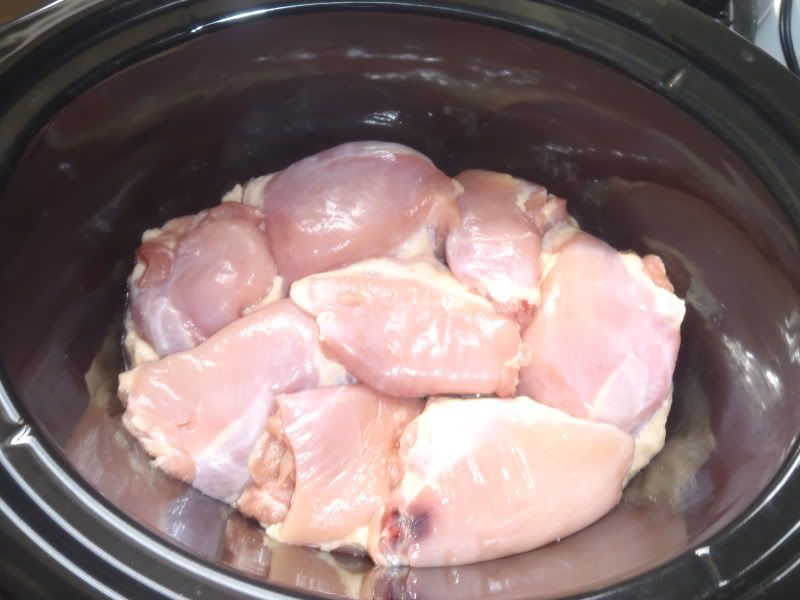
1. Place the chicken thighs at the bottom of the crock pot

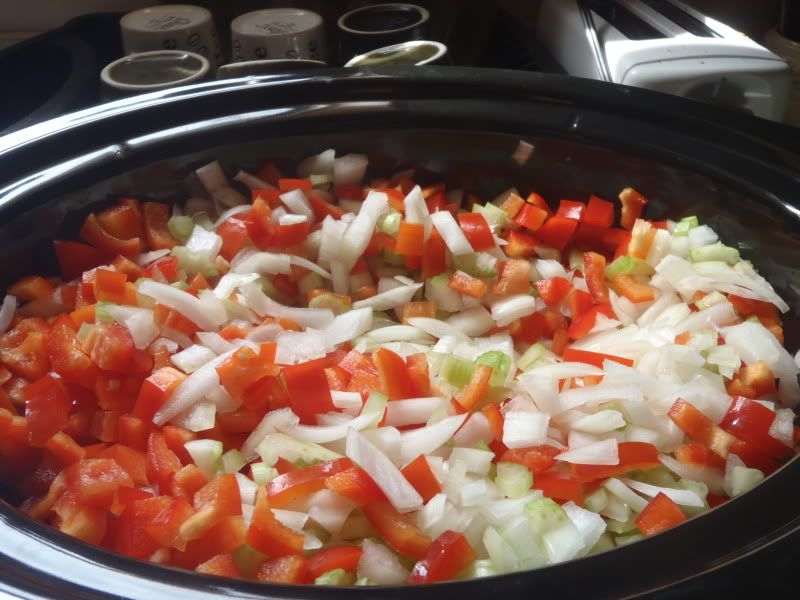
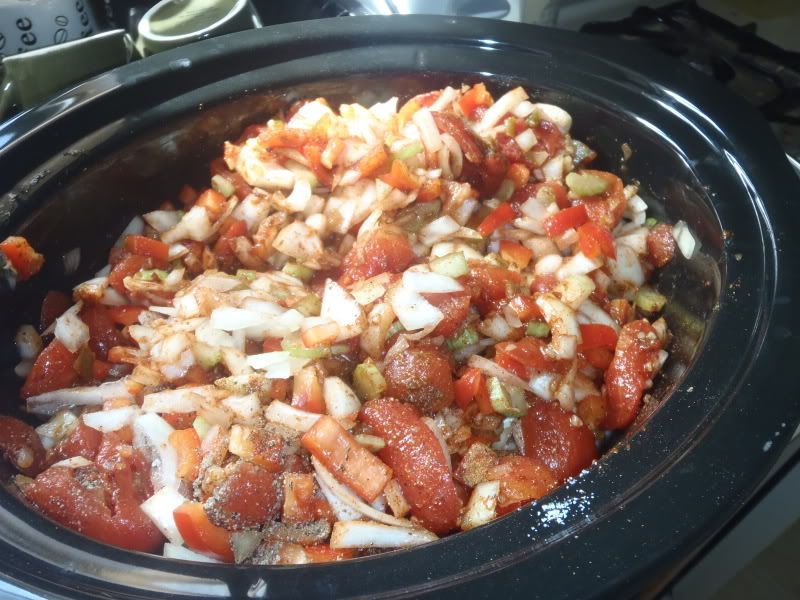
2. Add chopped bell pepper, chopped onion, diced celery, tomatoes with the juice, minced garlic, sugar, paprika, Cajun seasoning, salt and pepper. Cover; cook on LOW 7 to 9 hours or HIGH 3 to 4 hours (the longer the cook, the more tender your chicken will be).
give it a good mix to evenly distribute spices.

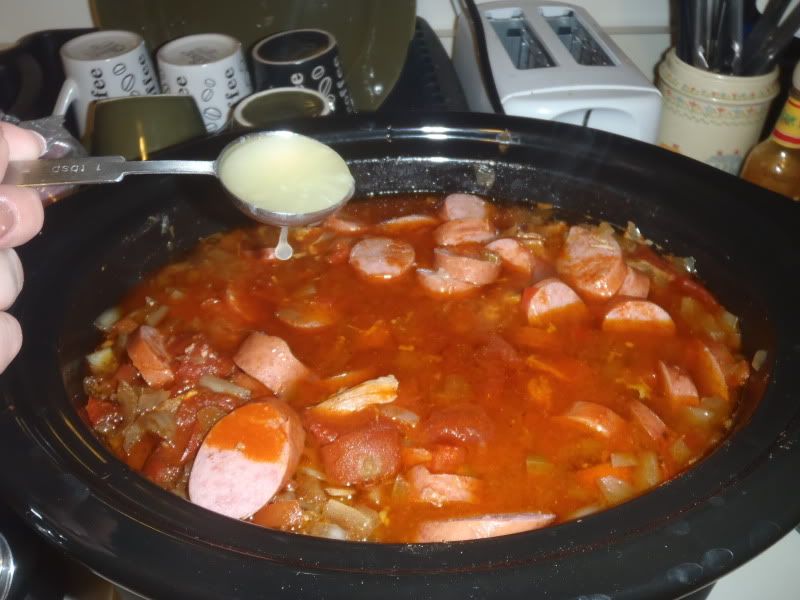
3. Add shrimp (or kielbasa, if using), lemon juice and hot sauce. Cover; cook on LOW 45 minutes to 1 hour (or until shrimp are done).

4. Serve over hot cooked rice!

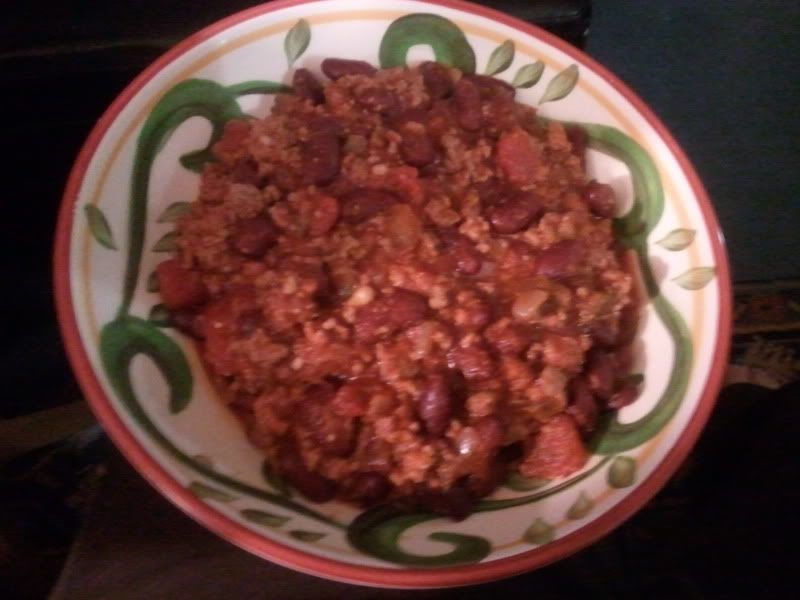
A beautiful dish, if I do say so myself! The recipe says that it feeds 6, but when doubled it could easily feed at least 8. It could quite possibly feed up to 12 people! Therefore, I am labeling this Pot-Luck, because it is a perfect dish to bring to a dinner party or any type of gathering where food would be welcomed and appreciated. Don't forget to bring some extra hot sauce for those who love the spice. 

I love very savory foods, and the finished dish didn't have enough "kick" for me. So, instead of two tablespoons of lemon juice, I added as much juice as I could squeeze out of the thing. Also, I added extra sprinklings of salt, pepper and lots more Cholula - which isn't exactly Louisiana-style hot sauce, but it did the trick. Of course, you are free to adjust the spices and flavors as you wish and make it truly your own!

Upcoming recipes are TBD...short way of saying "I have to freaking clue". But until next time - eat, drink and be merry!!


PS: Guess what I saw a commercial for today? McCormick Recipe Inspirations!!! Remember, I used them here and here? Finally, some recognition for an awesome product!

PPS: New tag for this and other recipes: Lots of Leftovers! Meaning, this dish will not only feed you for one meal, but it guarantees more.

PPPS: I've added ads to the site to help me generate a bit of revenue. So if you love me, click on some ads and help me make a little extra money! =)

Monday, February 14, 2011

Shrimp Scampi

Happy Valentine's Day! My gift to myself? I'm not cooking! Instead, my man is buying me a pizza!

But that doesn't mean you can't create a special meal for that special someone! 

Okay, so I know I said I would give a tutorial on how to peel and de-vein shrimp, but I totally forgot. I was going to wait for my fiance to come home so that he could take pictures while I went through the steps, but I got home kind of late. I just kind of sat down, started cleaning the shrimp and before I knew it, they were all done and I hadn't saved any for him to take pictures of. Crap. 

I can write out the steps easily, but I feel like they're missing something without pictures.

Anyway, this recipe comes from "Cook This, Not That" again. I'm going to quote the book since they do a much better job of describing this dish than I ever could: 

"In restaurant-speak, 'scampi' is code for 'buckets of butter'', a distressing translation for the discerning diner. The rich flavors in this version don't derive from fat; they come from garlic, chiles and fresh chopped herbs."

Be forewarned - it's also quite a spicy dish, thanks to the crushed red pepper! Of course, depending on your tastes, you could add anywhere from one-eighth of a teaspoon to half a teaspoon to a whole tablespoon for all I care! It's all about what you like. Recipes aren't written in stone, remember?


SHRIMP SCAMPI, courtesy of Cook This, Not That
YOU WILL NEED:
1 tbsp olive oil
3 cloves garlic, minced
Red pepper flakes
1 small red onion, thinly sliced
1 lb medium-sized shrimp, peeled and de-veined
Salt and black pepper to taste
Chopped flat-leaf parsley
Zest and juice from 1 lemon
Pasta, couscous or quinoa, for serving
mise-en-place
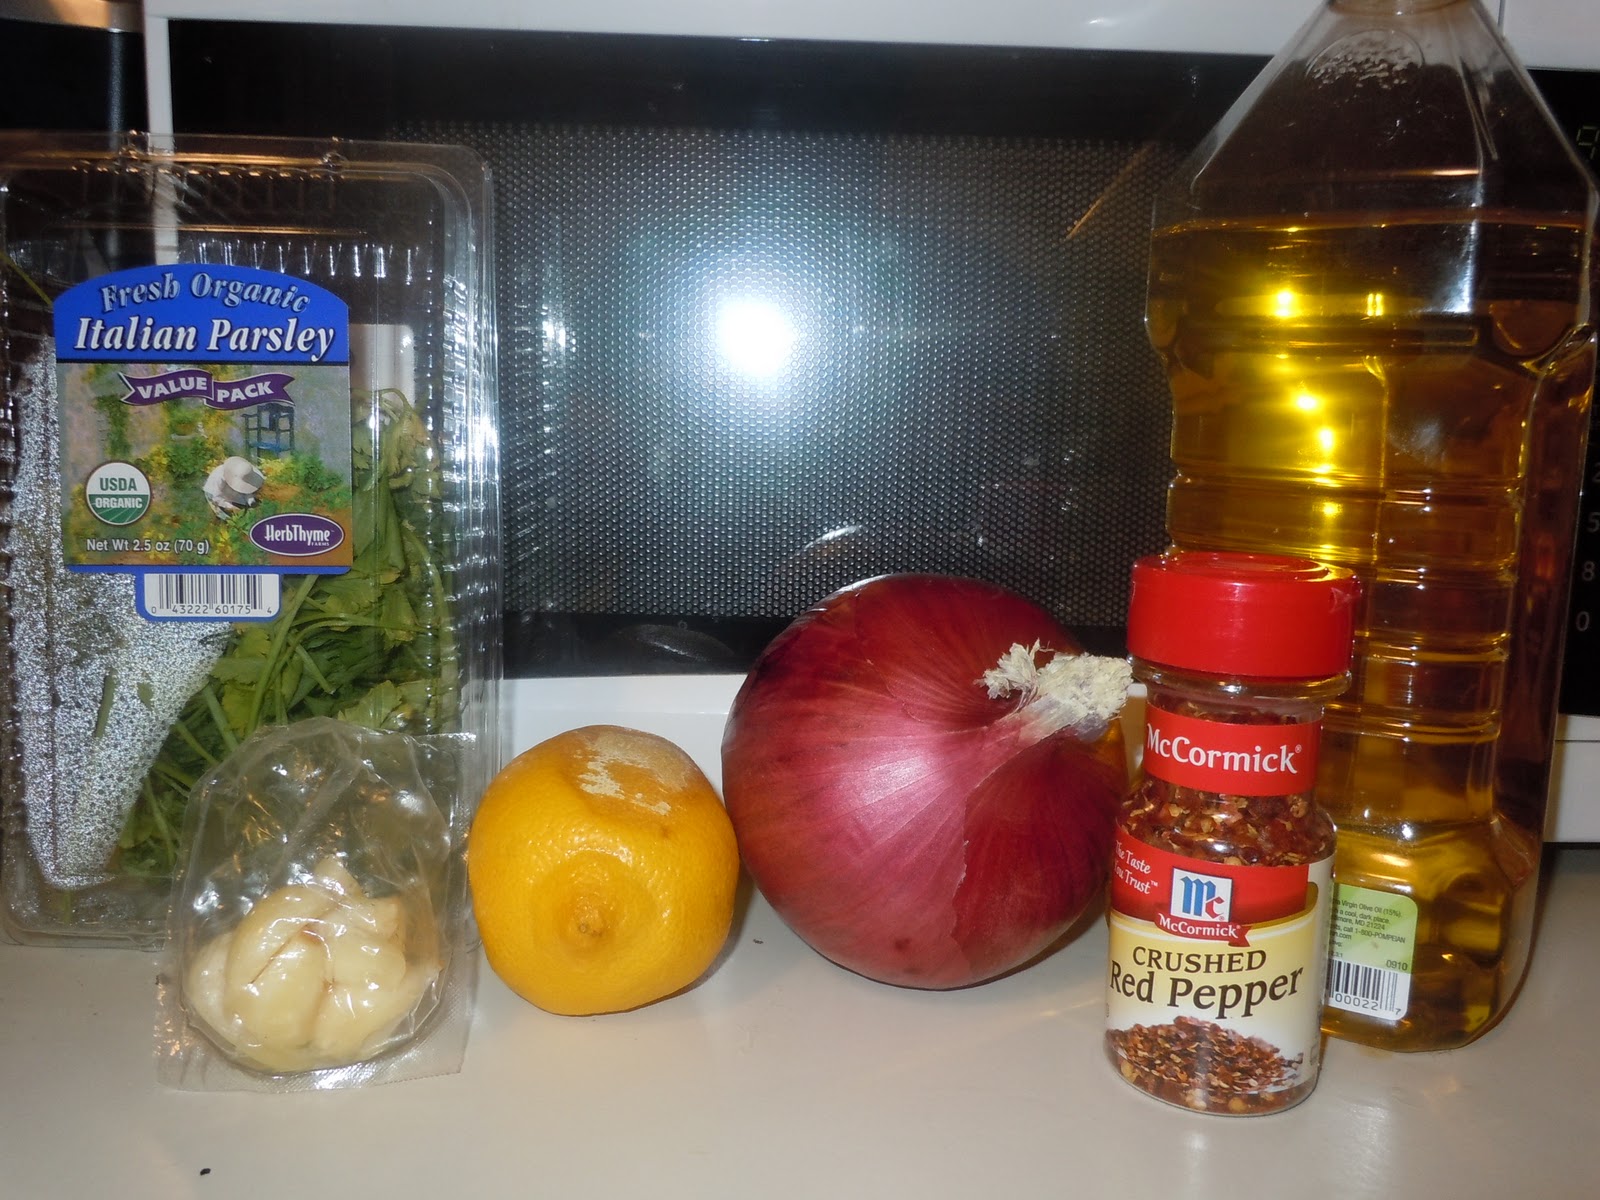
You will need a medium/large skillet. It may look like a very small mise-en-place, but the shrimp is missing from the photo. They were in the sink, soaking in a bowl of cold water. Also missing was the pasta. The recipe calls for a small onion, but the only onion I had on hand was ginormous, like, softball ginormous, so I simply cut it in half. It was more than enough!

Okay, before we get into the recipe, here's a quick step-by-step (minus pictures, sorry!) on peeling and de-veining shrimp.

Now, you can easily buy frozen shrimp that are already peeled and de-veined, but guess what? You're probably going to pay up to TWO TIMES more than if you bought fresh shrimp from your supermarket's seafood department. I paid a little less than $8 for a pound of fresh shrimp, while the package would have cost me about $14. This may vary depending on where you live, but why waste money on frozen shrimp when you can buy the good fresh stuff and just clean it yourself?

What's important about removing the dark vein in the back of the shrimp is, it's is actually the shrimp's digestive tract. Gross, right?

1. Peel off the shell and remove the tail.
2. Using a sharp knife, make a shallow incision along the back of the shrimp.
3. Remove the vein using the tip of the knife. Discard.

That's it! Seriously, that's it. It's a slow and tedious process, but it's got to be done. After I remove the veins of the shrimp, I toss them in a bowl of water for an extra rinse-off.

Now that your shrimp are cleaned, let's cook!

1. Heat the oil in a large skillet or saute pan over medium heat. Add the garlic and pepper flakes until the garlic is light brown (about 30 seconds). Add the onion and continue cooking until it is translucent.

2.Season the shrimp with a pinch of salt and add to the pan. Cook, stirring occasionally, until the shrimp are pink and lightly caramelized (if making pasta, start this now).

tri-color fettuccine!
3. Remove from heat, stir in the parsley, lemon juice and lemon zest. Season with salt and pepper. Serve as is, or on top a portion of buttered pasta, quinoa or couscous!
Thanks to our friend Ben for modeling this bowl =)

Now, I have to admit this dish was not perfect the first time around. The first time I went to cook the garlic and pepper in the oil, I left it on the stove too long and the fumes from the burning chilies nearly choked all of us to death. Then, the second time around, I added waaaaaaaaaaaaay too much red pepper into the pan. That was just my stupidity. However, my fiance and our friends that partook of the meal insisted that the intense spice was perfectly fine.

Happy Valentine's Day to all of you "celebrating" out there. Just remember: Love is all about whistles.
 
Love Is... - Bo Burnham

Friday, February 11, 2011

Fiery Buffalo Wings

Surprise quick entry!!! 

On Superbowl Sunday, my fiance's mom bought about 2 pounds of chicken wings, and then decided she didn't want them. Well, we happened to be at the right place at the right time and she handed the wings over to us! We didn't end up eating them on Sunday (my 7 layer dip was just way too filling), so they sat in the fridge until I decided what to do with them. 

I finally decided! On Thursday night, I made fiery buffalo wings.

I haven't mentioned my favorite book Cook This, Not That! in awhile. I think the last recipe I pulled from it was the French pot roast. Anyway, this book's expertise lies in taking popular fast-food or chain restaurant menu items and creating healthier, cheaper alternatives. This recipe is based off of Hooter's wings (because why else would you go to Hooters?!). If you follow this recipe, according to the book, you will save yourself about 700 calories! You can't beat that! 

FIERY BUFFALO WINGS, courtesy of Cook This, Not That!
YOU WILL NEED:
2 lbs chicken wings (preferably a mix of wing segments and drummettes)
1 tsp salt
1 tsp pepper
1 tsp chili powder
2 tbsp butter
2 tbsp hot sauce (Frank's Red Hot or Cholula work best)
Juice of 1 lemon
Celery sticks (optional)
mise-en-place
You will also need a baking sheet and a medium or large skillet.

1. Preheat the oven to 450 degrees F. Toss the chicken with the salt, pepper and chili powder (using a gallon-sized zip-closed bag is the easiest way) and arrange on a baking sheet. Roast until the skin is lightly blistered and the meat is cooked through, about 15 minutes.

2. Melt the butter in a large nonstick skillet or saute pan. Add the hot sauce and the lemon juice. Remove the wings from the oven and add directly to the hot pan, tossing thoroughly to coat every piece in the sauce.

3. Serve the wings with celery sticks on the side and blue cheese dressing.

I asked my fiance what he wanted with the wings, and he requested jasmine rice and peas. Ask and you shall receive!

Now, I didn't have the ingredients to make blue cheese dressing, but here's a quick way of doing it:
Mix 1 cup plain Greek-style yogurt (like Fage 2%) with 2 tbsp crumbled blue cheese and about 2 tbsp lemon juice. Season with salt and pepper to taste!

I have made the dressing before and it is very light and refreshing, and the taste is not overpowering like bottled dressing is. It's quite pleasant.

Wow, this really was a super short entry. Well, tonight's recipe will be posted tomorrow and it will make up for it: it's shrimp scampi night! I swear, you will be so impressed with how easy this is. I am pretty excited! The shrimp in my fridge are calling to me. And yes, you will learn how to peel and de-vein shrimp!

Stay tuned, eaters.

Saturday, February 5, 2011

Oven-Fried Chicken Tenders

As I rummaged through my refrigerator yesterday, trying to decide what do to for dinner, I spotted a package of recently defrosted chicken breasts resting on the bottom shelf. Perfect, I thought. I'll whip up something nice and easy. Then, as my eyes wandered up from the bottom to the top shelf, I saw it. Gazing me hatefully in the face. My bane. My enemy. 

Buttermilk.
Then I remembered what the chicken breasts were for. 

I don't know what buttermilk consists of, and frankly, I don't want to know. I've never tasted it. I don't know anyone who has. I had a professor in college who decided we all needed to try buttermilk and actually brought a carton of it in to class one day - along with plastic cups - and demanded that everyone have some. I managed to fake my way through it by bringing the cup to my lips and pretending to take a swallow, then just shaking my head "no" emphatically when the professor asked me if I liked it.

I never forgave that professor for putting me through that, but I did well in the class at least (which was Experimental Fiction, for those who care).

This recipe calls for only a half cup of buttermilk, yet when I went to the supermarket, hoping to find at least a pint or half-pint, like they sold heavy cream, I was told by the very nice man in the dairy department that this did not exist. I would have to settle for a FULL QUART. I expressed my disappointment, explaining to the dairy man that I only needed four ounces, to cook with, and made it perfectly clear that despite my complaints, it wasn't his fault. He just said, "You're not the first one to complain. A lot of people ask me if we stock small containers because they also need it to cook with. It's such a waste that people have to buy a full quart and then have it go to waste." Before I left, he told me he was going to file a request with their distributor to provide smaller containers of buttermilk because he'd had so many complaints.

One step at a time, right? Maybe by the next time I decide to make this recipe, there will be smaller containers to be had. But for now, I have a quart of buttermilk that is slowly curdling in my fridge because I have no idea what to do with it.

This recipe is a fresh new take on chicken tenders. It is usually cooked in a toaster oven, but I had too much chicken and not enough space in the toaster oven, so I decided to cook it in a conventional oven. It is surprisingly filling for a meal, or you can always double (or even triple) the recipe if you're entertaining.

OVEN-FRIED CHICKEN TENDERS, courtesy of TheNest.com
Yields ~12 tenders
YOU WILL NEED:
1/2 cup buttermilk
2 cloves garlic, finely minced
1 1/2 teaspoon salt
1 tablespoon oil
1 1/2 pound boneless, skinless chicken breasts cut into strips
1 cup rolled oats
1/2 teaspoon red pepper flakes
1/2 cup grated Parmesan cheese
1/4 cup fresh basil leaves or rosemary needles
Olive oil spray (optional)
mise-en-place
You will also need a mixing bowl and a food processor.
 
Yes, that is in fact a basil plant all the way to the left. I found it at the supermarket. I couldn't find a little plastic container of it, so I settled for this - and realized a few days later, I didn't "settle" at all! It's the best thing ever. It was in the produce section and it came in a little plastic pouch. The ball of roots is in tact and all you need to keep it alive is water. I bought this almost 2 weeks ago and it is still thriving. Plus my kitchen smells like fresh basil 24/7. What's better than that?

Also, the recipe suggests that you prep overnight to let the chicken marinate. However, I marinated for about 10 hours and it still came out kick-ass.

1. In a shallow dish, mix together the buttermilk, garlic, 1/2 teaspoon of salt and oil. Place the chicken pieces in the buttermilk mixture and coat them thoroughly. Marinate the chicken in the buttermilk mixture overnight in the refrigerator.

2. Preheat the oven to 450 degrees F (or the toaster oven to 425 F). In a food processor, mix the oats, red pepper flakes, the remaining 1 teaspoon salt, Parmesan and basil. Pulse until the oats are partially powdered. Alternatively, mix the ingredients together in a bowl with a wooden spoon.

3. Spread the oat mixture on a plate. Shake any excess buttermilk off the chicken and dredge to coat each piece thoroughly.
 

4. Place the chicken pieces on a tray lined with foil and sprayed with no-stick oil (if using a toaster oven, check your manufacturer's instructions for any cautions against using foil), so that they are not touching one another. If using, spray the chicken pieces lightly with oil. Bake for about 20-30 minutes in the oven (10 to 15 minutes in the toaster oven), depending on the thickness of the meat, until the crust is golden brown and crispy.

5. Remove the chicken from the oven and serve hot, or refrigerate and serve cold over a salad.

Yummy! I served them hot, obviously, with a side of brown rice and a salad. The coating was crispy and the red pepper gave it a little kick while the basil and Parmesan gave it bold flavor. This definitely is going to be repeat recipe. It was so easy and we devoured them. Next time I'm going to mix it up a little, use herbs other than basil, or maybe mix the basil with rosemary and oregano and possibly some more garlic. They could have been more garlicky. The possibilities are endless!

So tomorrow is Superbowl Sunday. We don't have anything special planned; just having a few friends over. I'm making 7 layer dip as well as what I'm featuring tomorrow: a glazed Orange Poppy Seed Cake. It's another crock pot recipe. Yes, a cake in the crock pot! How cool is that?

Okay, time to finish cleaning my apartment and watch some more of the "Glee" marathon. Until next time: eat, drink and be merry!