The first time I made this recipe was the night of the Great Halloween Blizzard of 2011. I will never forget that night! All week, the weatherdudes on the news are like, "GUYS, THERE IS SNOW COMING THIS WEEKEND I'M NOT KIDDING THIS IS GOING TO HAPPEN." Meanwhile, everyone else was like:
And then ... for once ... the weatherpeople were RIGHT!!!! Matt was at work on Saturday, October 29, when it started snowing. It was pretty light at first, no one really made too much of it. "This will pass," we said. "A dusting, a flurry. No big deal." But the snow. Did not. Stop. It was madness! My sweet next door neighbor advised me not to go out unless I had to. I said, "I'm sure I'll be fine!"
But it wasn't fine. I didn't even make it out of my complex because the roads were all slushy and slick. The roads weren't plowed or salted because no one planned on having plows at the ready two days before Halloween. And then everyone was all:
We were supposed to go to a Halloween party that night, and the host sent out a mass text message that pretty much told us that the weather was not pretty and the party would take place next week. Later, Matt called me and said that his coworker Dan's car was stuck in the snow and they couldn't dig him out. Could Dan come spend the night at our place? Sure, no problem! Dan came over, then Colleen came over, we were all hanging out, having a good time, making fun of the snow, I made white bean & chicken chili, we were about 20 minutes into
Clerks when....the power went out. And it stayed out. For the next 9 hours.
Bummer.
And that's pretty much it.
So, I really hoped the next time I planned on making this, it didn't snow, otherwise I'd never be able to make this dish again unless it was in the dead of summer.
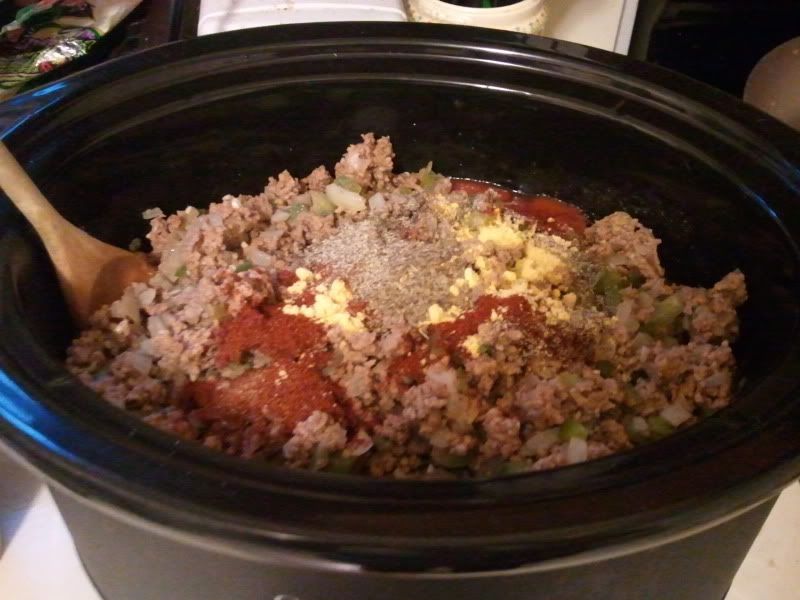
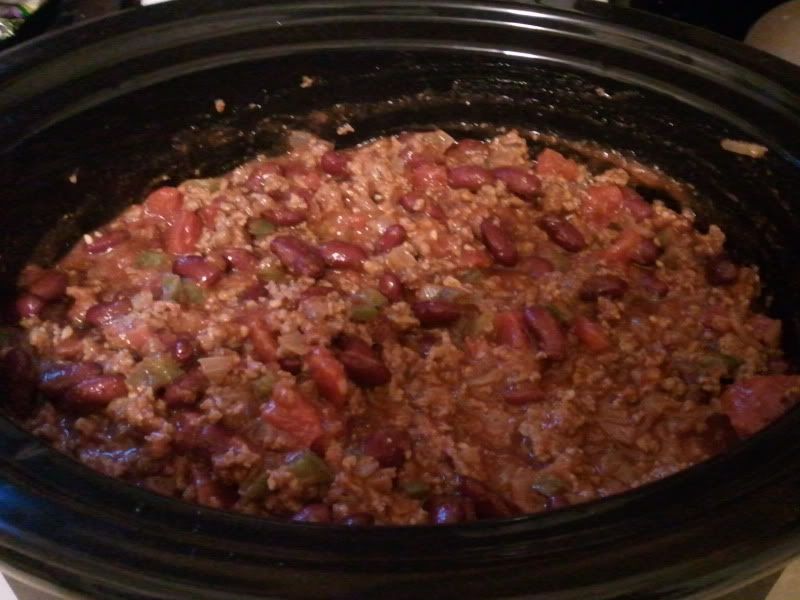
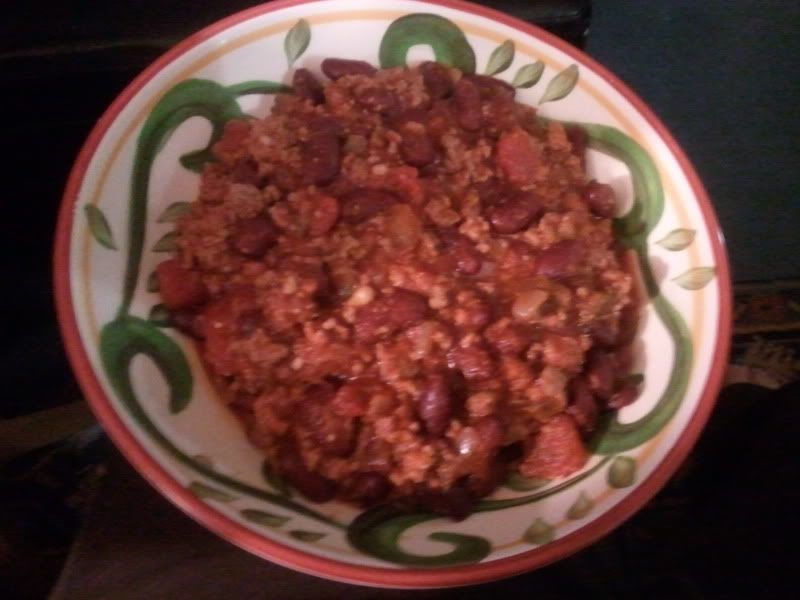
Anyway, this is a great chili recipe with a lot of spicy kick to it and a great flavor! And, because it too comes from "Desperation Dinners", it only takes 20 minutes to make! This is another great cold-weather stew to make when you don't feel like putting too much effort into a filling meal!
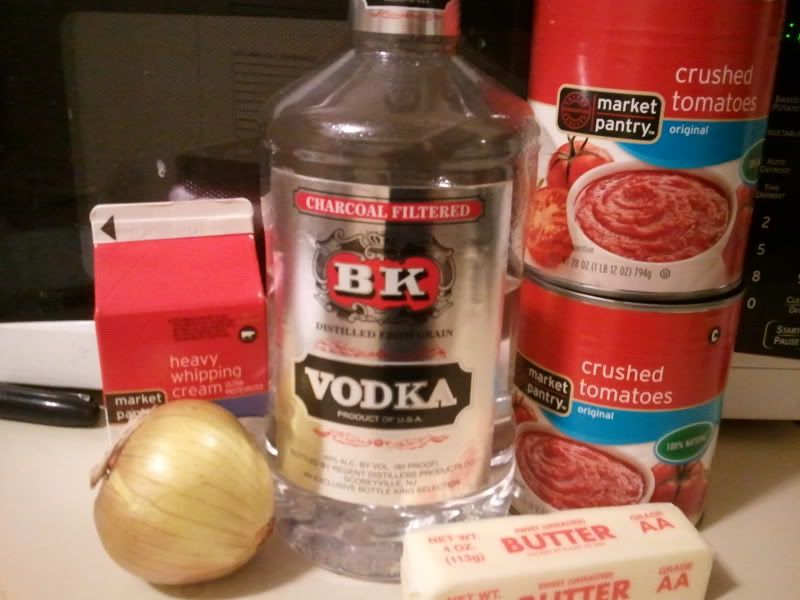
WHITE BEAN & CHICKEN CHILI, courtesy of "Desperation Dinners"
Makes 4 servings
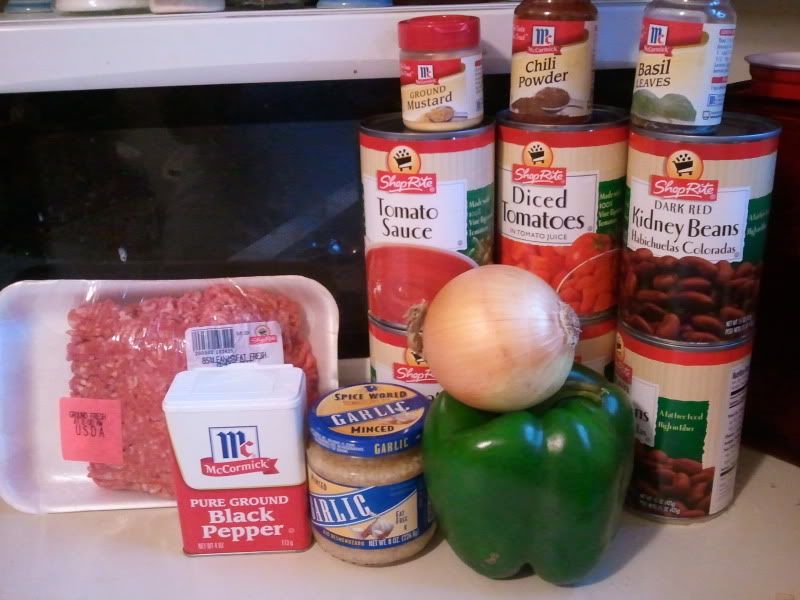
YOU WILL NEED:
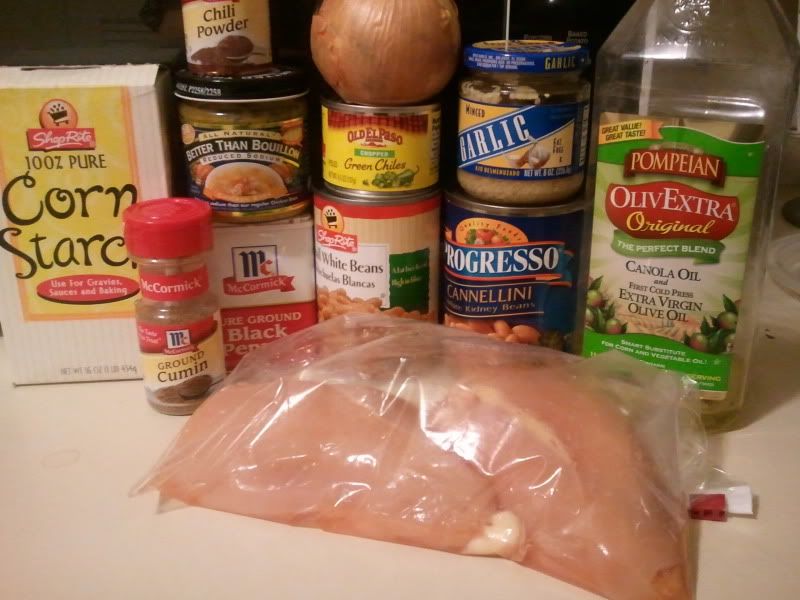
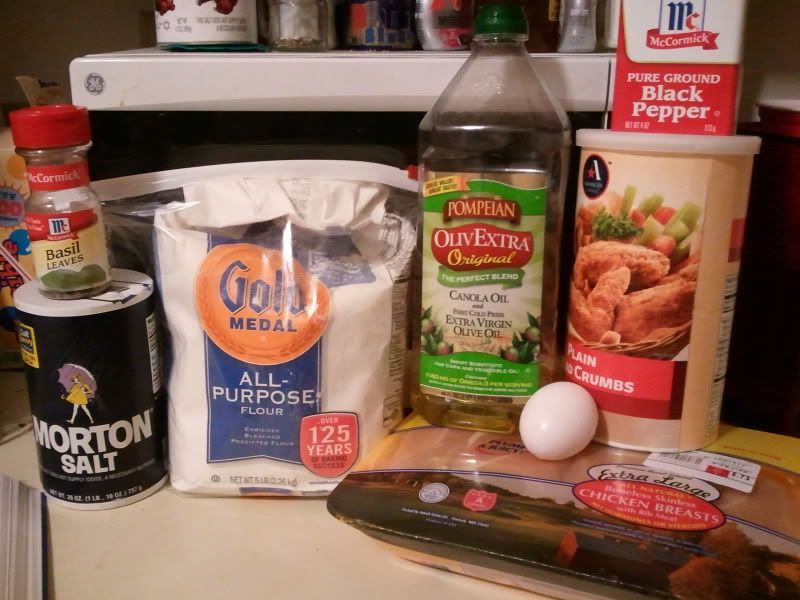
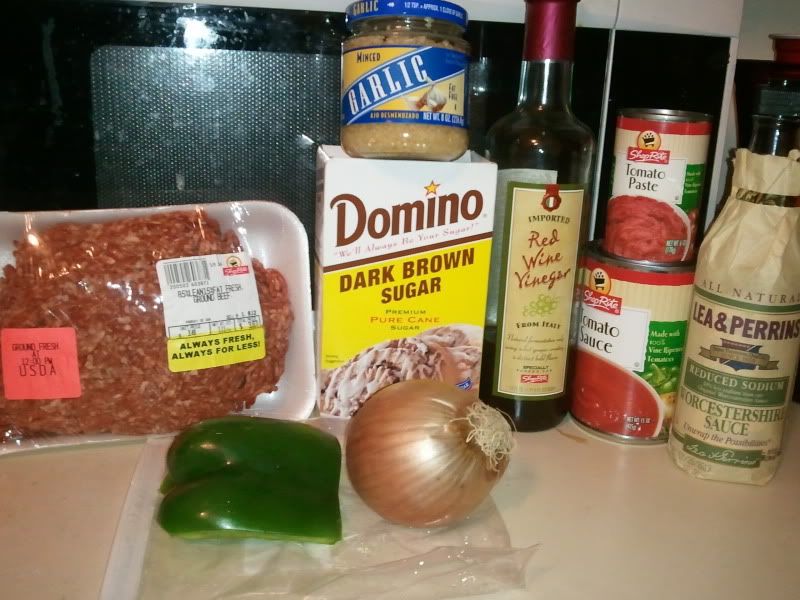
3 skinless, boneless chicken breasts (for about 1 pound total), fresh or frozen
1 teaspoon olive oil
1 large onion (for 1 cup chopped)
1 tablespoon bottled minced garlic
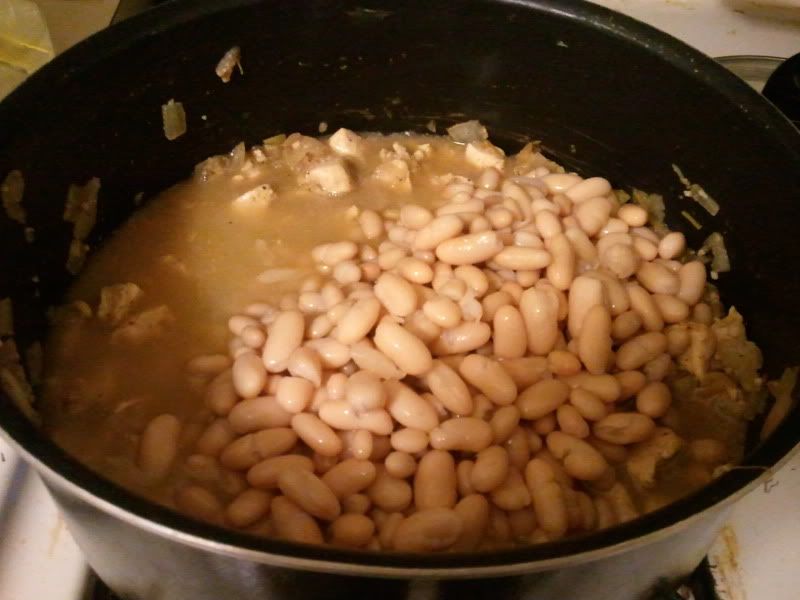
1 (15 oz) can Great Northen white beans
1 (19 oz) can cannellini beans
1 (4.5 oz) can chopped green chilies
1 1/2 teaspoon ground cumin
1 teaspoon pepper, preferably white
1/8 teaspoon cayenne pepper
1 (14.5 oz) can fat-free chicken broth
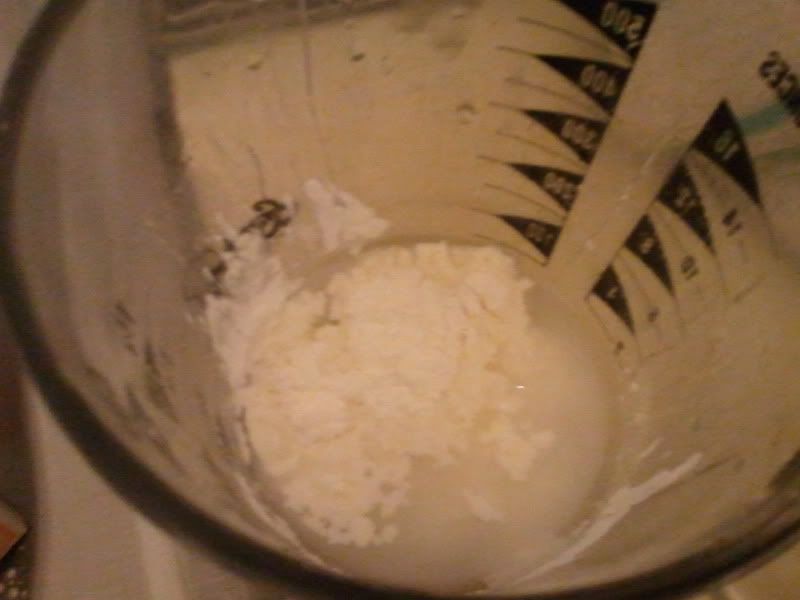
2 tablespoons cornstarch
2 tablespoons water
1/2 cup already-shredded Monterey Jack cheese (optional)
1/4 cup reduced-fat sour cream (optional)
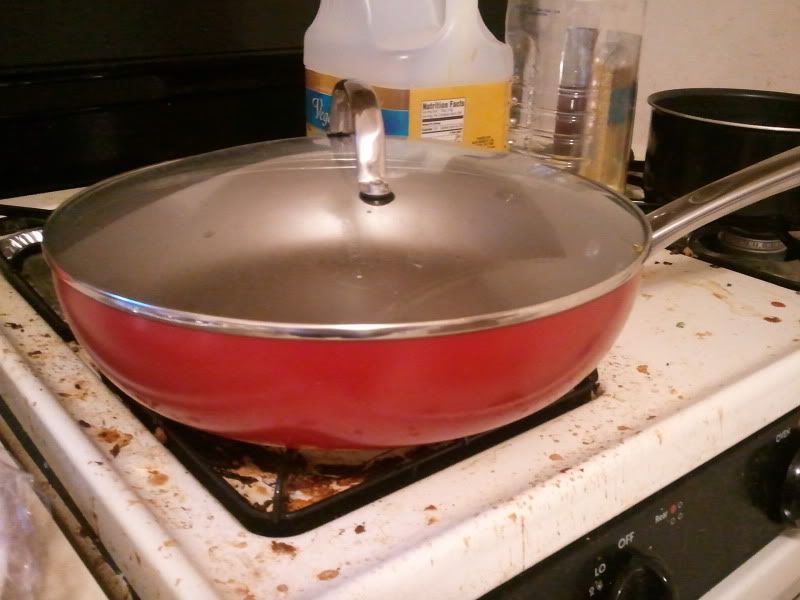
You will also need a Dutch oven or soup pot (at least 5 quarts). This is a great one-pot meal!
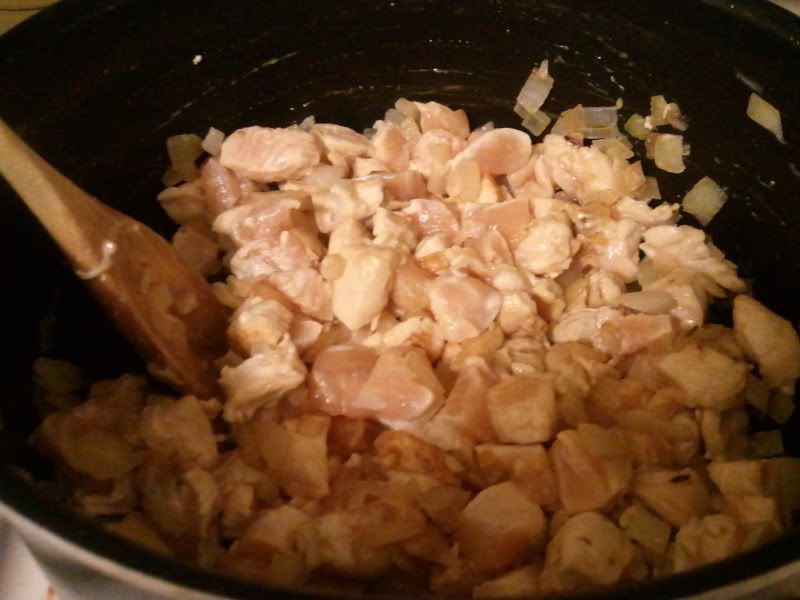
I had extra-large skinless/boneless chicken breasts at my disposal, so I only needed two as opposed to three. I even weighed them on my food scale to make sure I had about 1 pound. I did not have any white pepper, as the recipe suggests, but there is no reason at all why you can't make it with regular black pepper. The only difference is that black pepper is made from the unripe fruits of a pepper plant, and white pepper is made from the seeds of the pepper plant itself. Also, white pepper is more commonly used in dishes like potatoes, light sauces and salads, where the black pepper would stand out. With this recipe, I really don't see the difference between the black and the white, so use whichever!
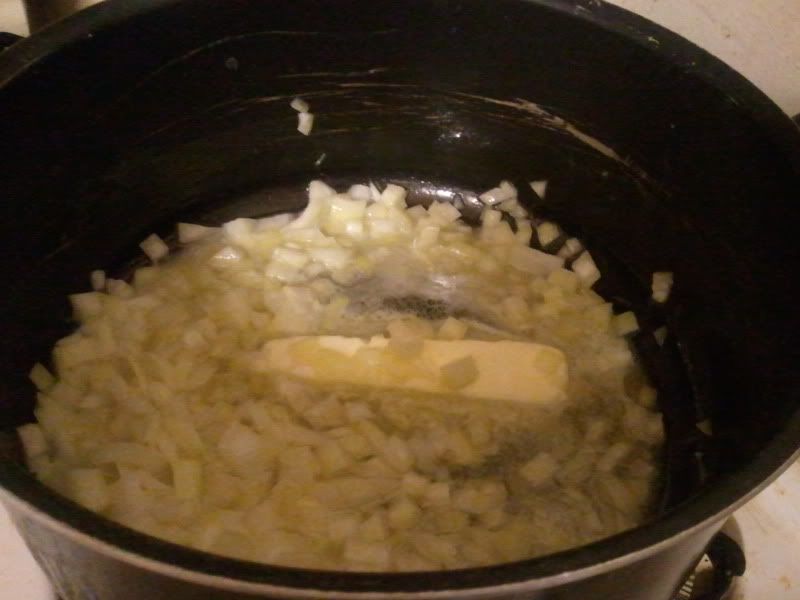
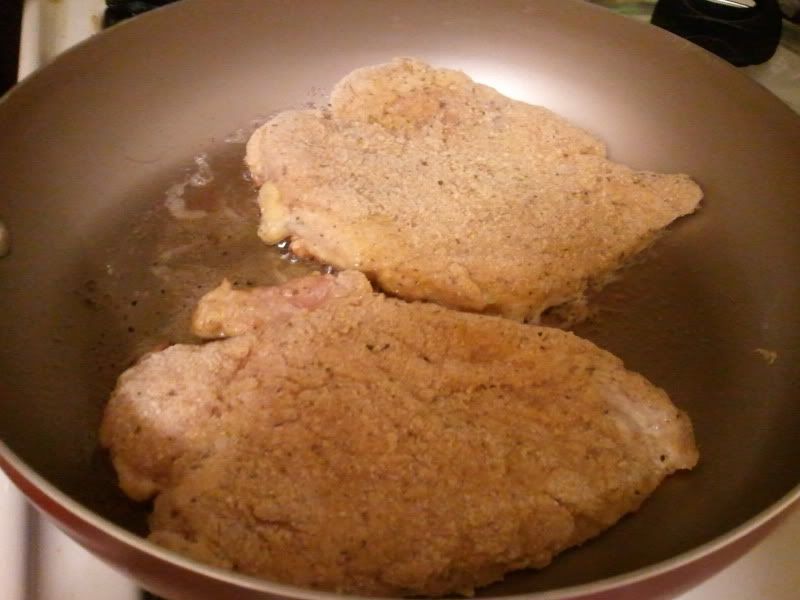
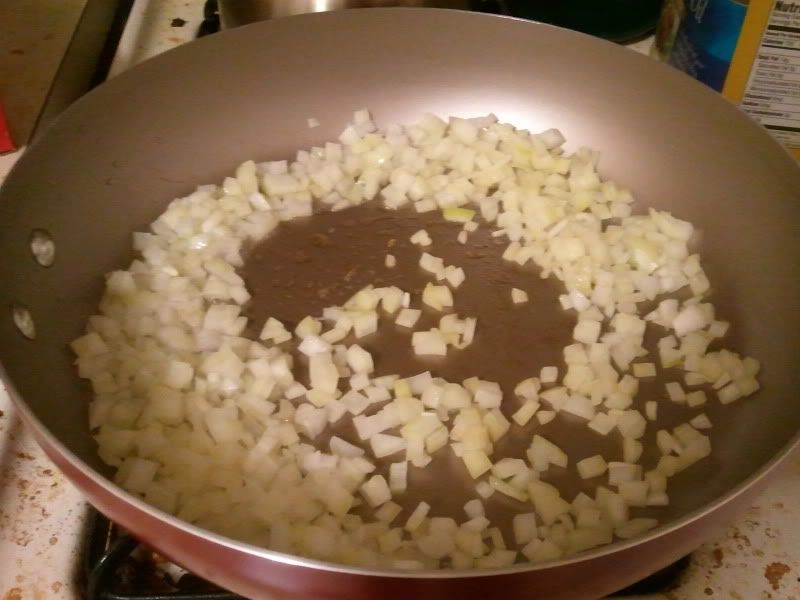
1. Defrost the chicken if it is still frozen. Meanwhile heat the oil on medium heat in a Dutch oven or soup pot. Peel or coarsely chop the onion, adding it to the pot as you chop. Stir occasionally to prevent sticking.
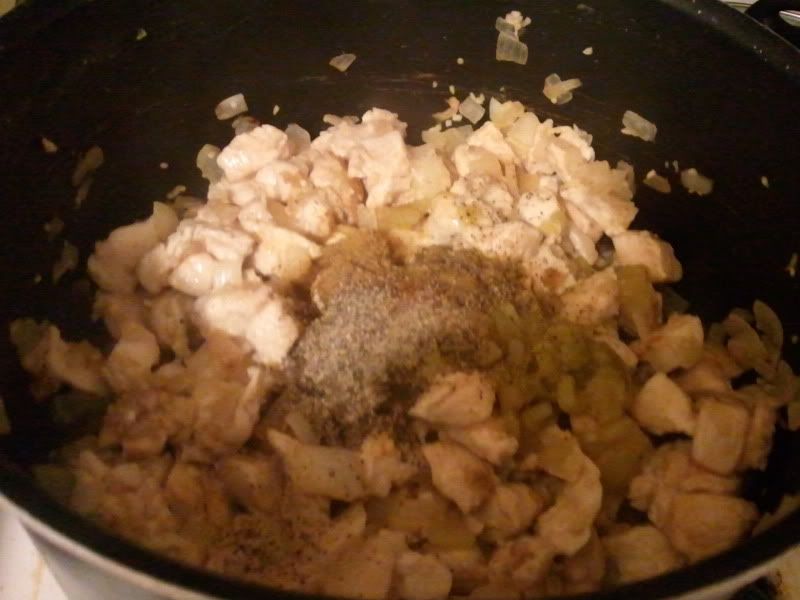
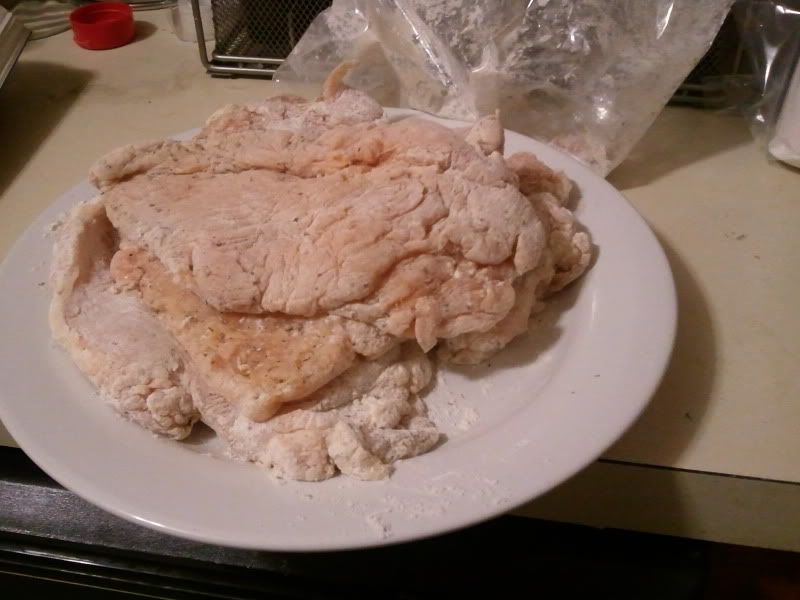
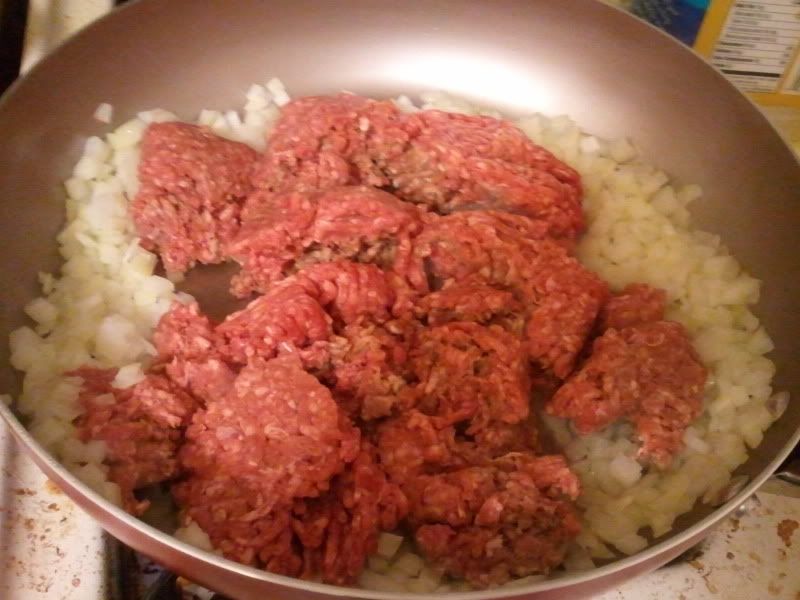
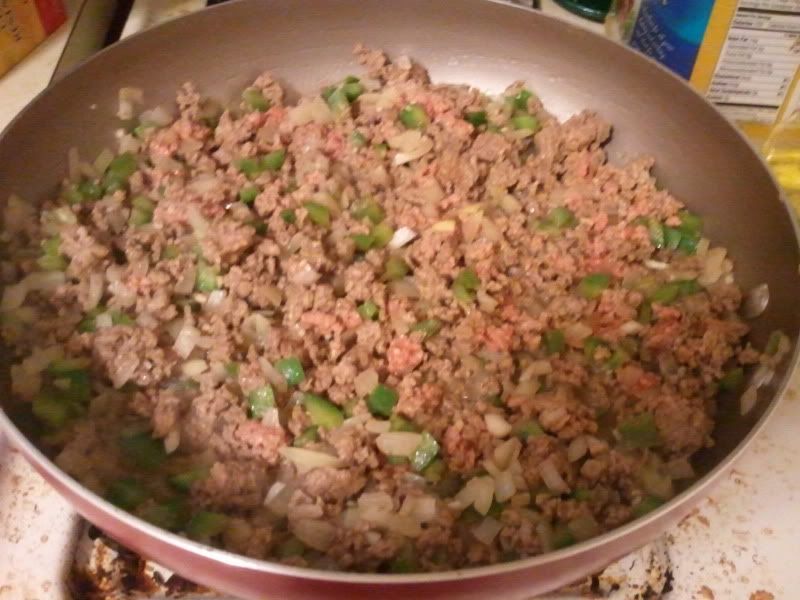
2. Cut the chicken (fresh or partially defrosted) into bite-sized chunks, add them to the pot and stir occasionally. Add the garlic and continue to cook, stirring occasionally.
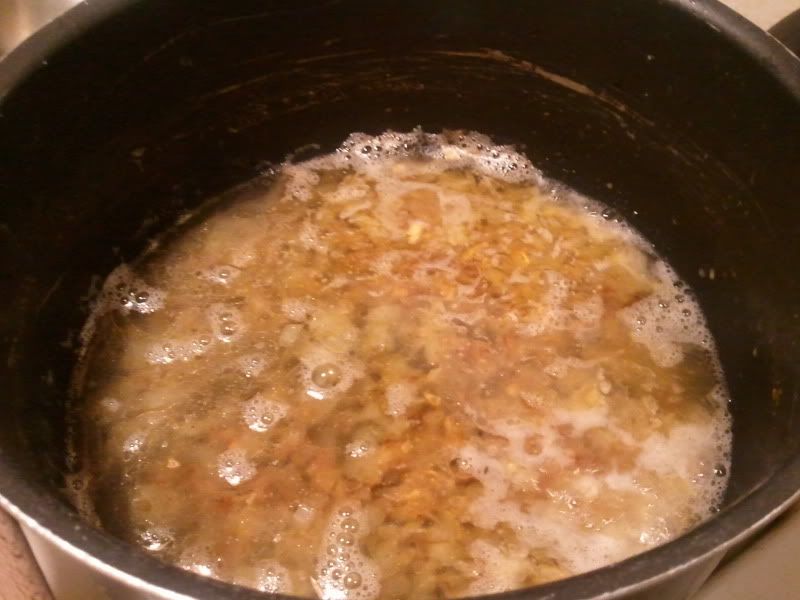
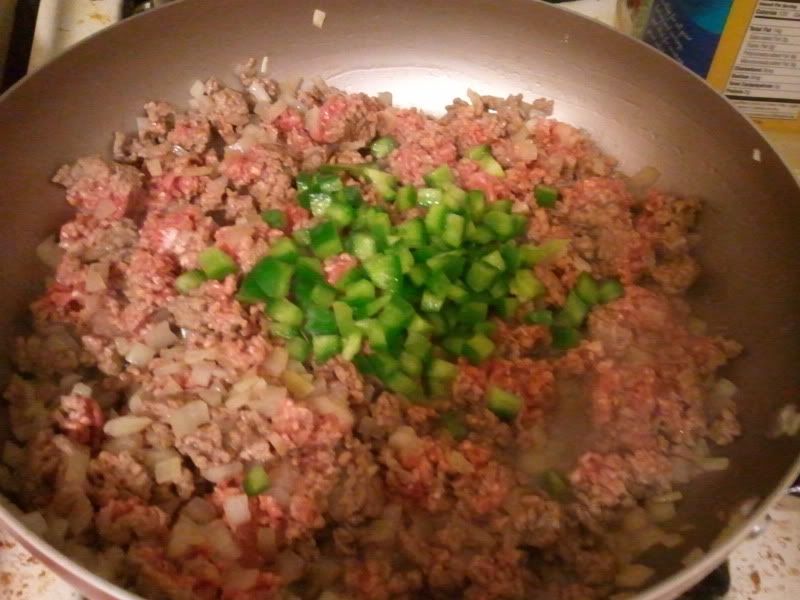
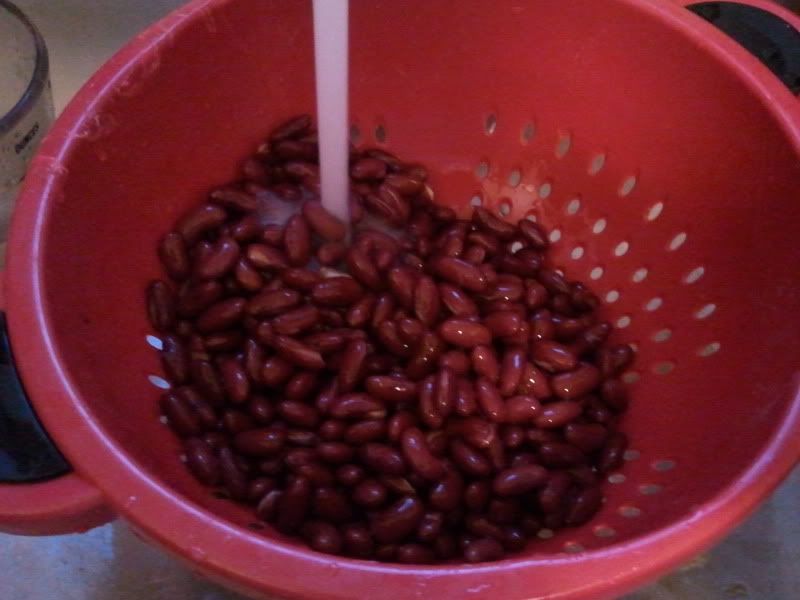
3. While the chicken cooks, drain and rinse both of the cans of beans, and drain the chilies. Add the chilies to the pot, along with the cumin, pepper and cayenne pepper. Raise the heat to high and add the chicken broth and the drained beans. Cover the pot and bring the chili to a boil.
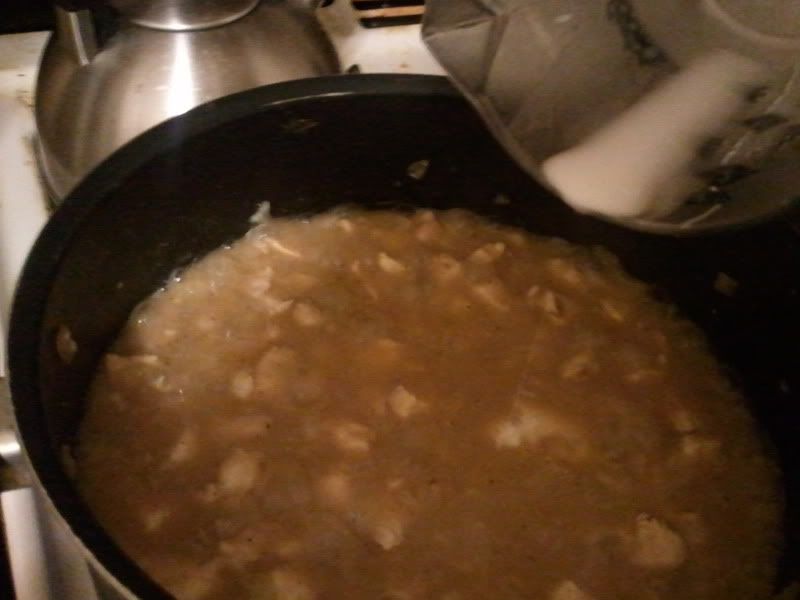
4. Meanwhile, combine the cornstarch and the water in a small container that has a lid. Shake well to remove any lumps. (
Alternatively, you can do what I did, and combine them in a container and whisk them together)
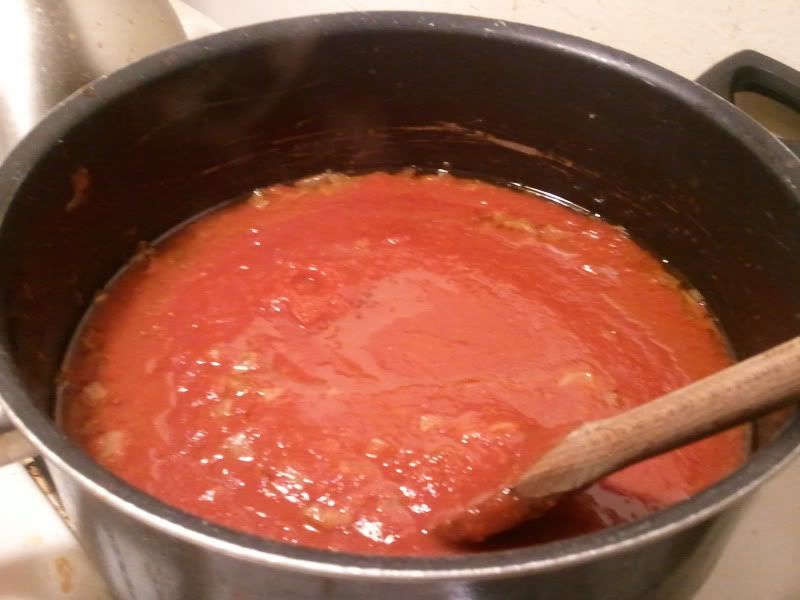
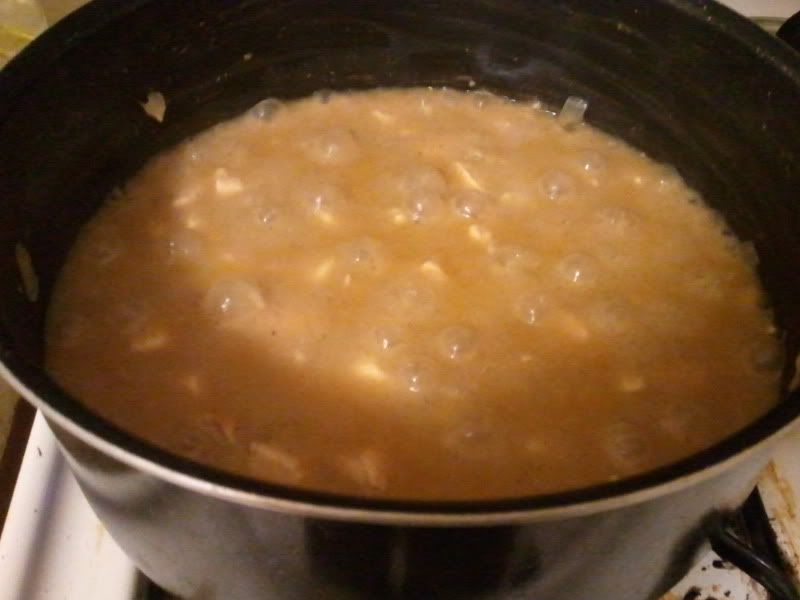
5. When the chili boils, the chicken should be cooked through (even if you began with partially defrosted). Add the cornstarch mixture a little at a time, stirring constantly. Continue to boil until the chili reaches desired thickness.
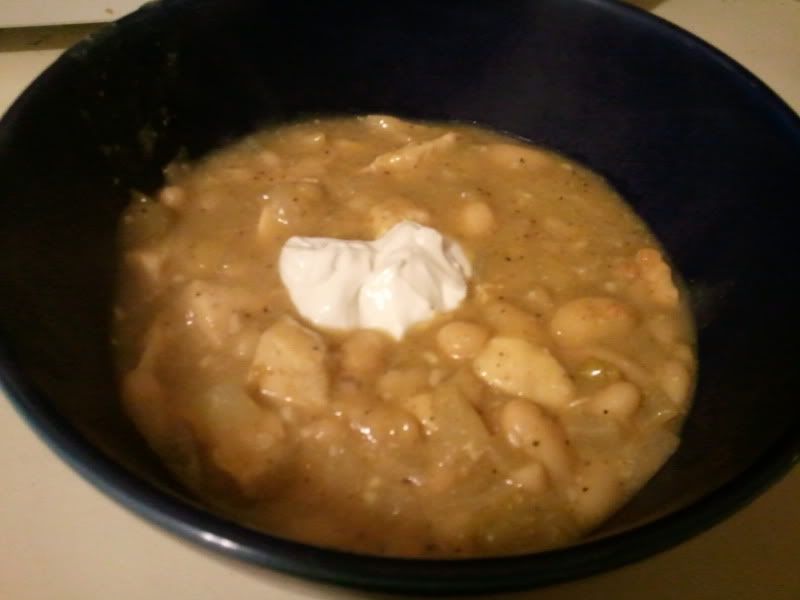
6. Remove from the heat and serve, or let the chili rest until you're ready to eat. Garnish with cheese and sour cream if desired.
What's great about this chili is that you can clearly see every single ingredient that's in there - the onions, the beans, the chilies, and, of course, the chicken! It's really spicy, spicier than you'd think it would be, thanks in part to the green chilies and the pepper and the cayenne pepper. But if you add a dollop of sour cream when you serve it, it sort of helps "cool the burn", so to speak!
That's it for this entry! I think I'm much better at this blogging thing when I'm not pressuring myself to do it every night or even 3 times a night. I'm much happier blogging and posting at a slower pace, it seems like. As long as the readers keep reading, I will keep blogging.
I'm going to actually start cooking tonight's dinner soon, that I fully intend on blogging - but you'll have to wait to find out what it is!
Eat, drink and be merry, folks!